
Finding the perfect pair of jeans is like discovering the holy grail, and once you find ones that fit you perfectly, you’ll want to wear them all the time. They make you look good and feel great, yet even if you find the perfect fit, often the length won’t be right for you. Having always been on the petite side, I’ve had to hem 50% of the jeans I’ve ever owned, so while I don’t claim to be an expert, I do have it down to a pretty fine art! So next time you find the perfect pair, don’t waste your money taking them to the tailors, just give it a go yourself!
Here are my super easy steps for How to Shorten your Jeans at Home.
What you’ll need:
Tailor’s Scissors
Pins
Measuring Tape
Navy Thread
Gold Thread (optional, I didn’t use this)
Sewing Machine (I used the Janome 3300 from Hobbycraft)
Iron & Ironing Board
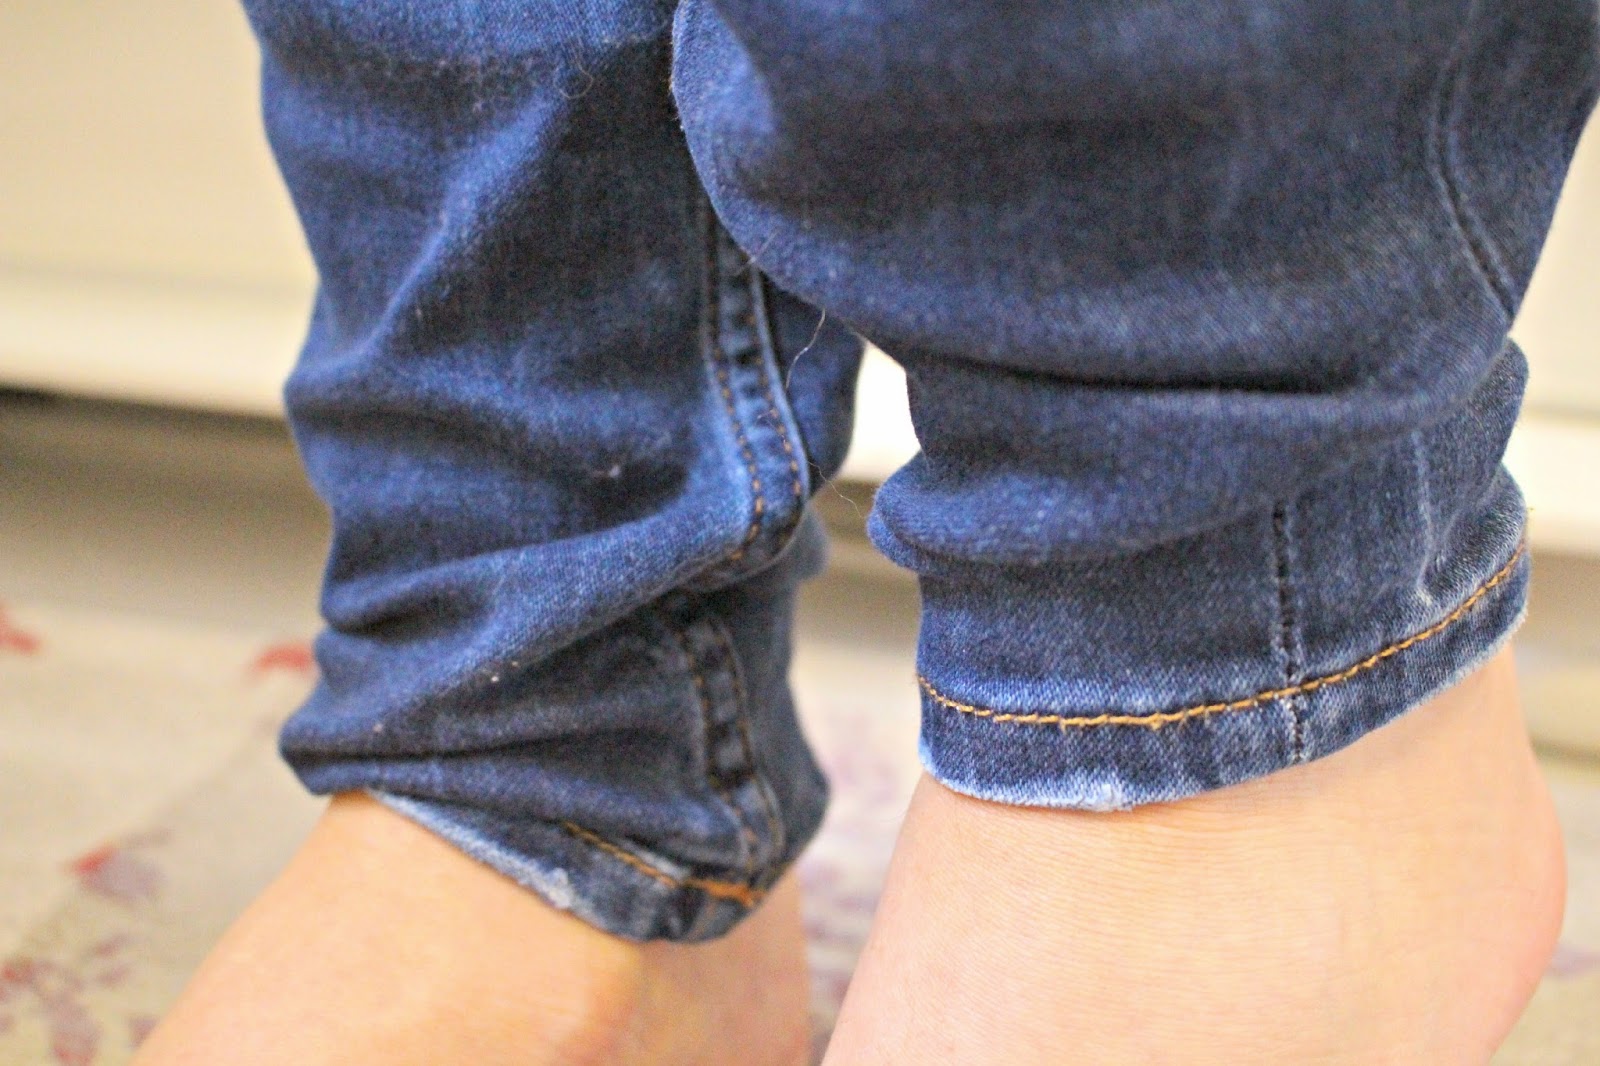
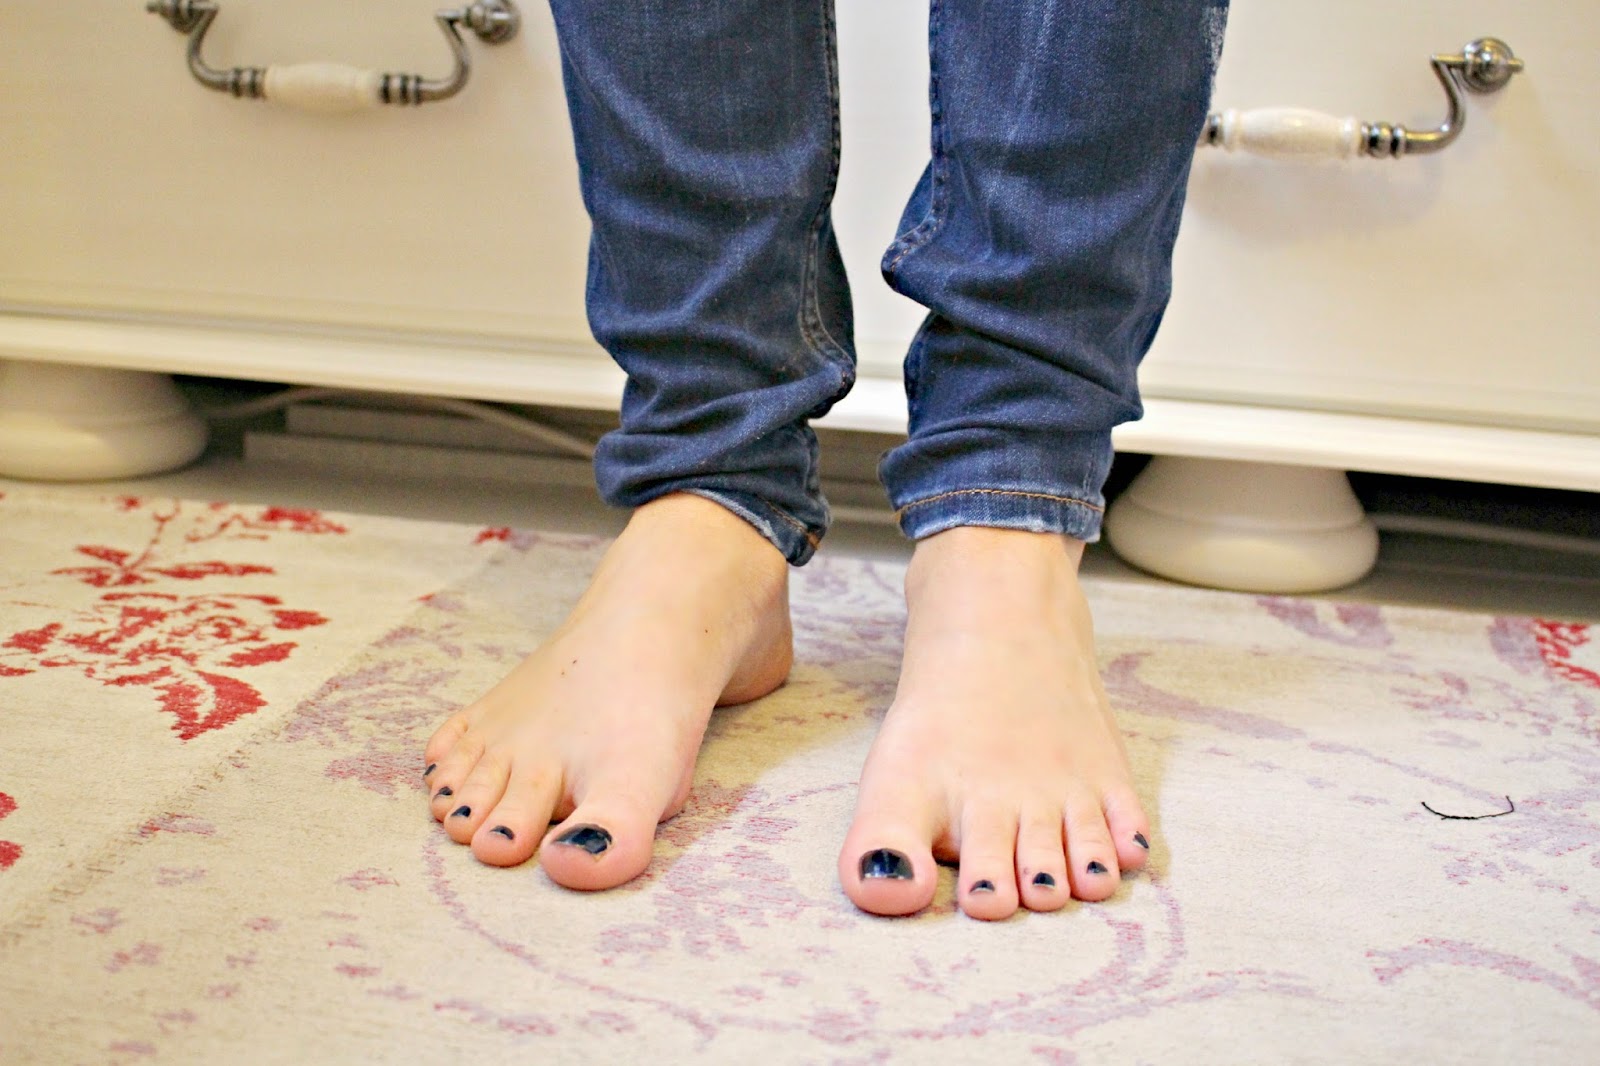
The first thing to do is try on the jeans and fold them up to the height where you’d like them to fall. Ask a friend to ensure that they are rolled up evenly all around the edges, and ask them to pin the folded edge. Don’t try doing this yourself as it’s likely that when you bend down to pin, your trousers will fall a little lower!
Remove the jeans, and set up your sewing machine. In this tutorial, I’m using the Janome 3300 Sewing Machine from Hobbycraft. It’s lightweight (for a sewing machine!) and easy to set up as you just follow the arrows on the machine body. Unlike other machines I’ve used in the past, it is also very smooth. If you’ve used machines before you’ll know what I mean, some are quite clunky but I’d compare this to a new car that drives smoothly, compared to an old one in which you feel all the bumps!!
I’ve used a navy thread, similar colour to my denim, and filled the bobbin with this thread too. You could use a heavy duty thread for denim, or gold thread like the original hem, but I had a navy thread in my sewing basket, so just used that! After threading the machine and inserting the bobbin, I like to catch the thread before I start stitching, so I turn the wheel on the side of the machine 360 degrees before starting.


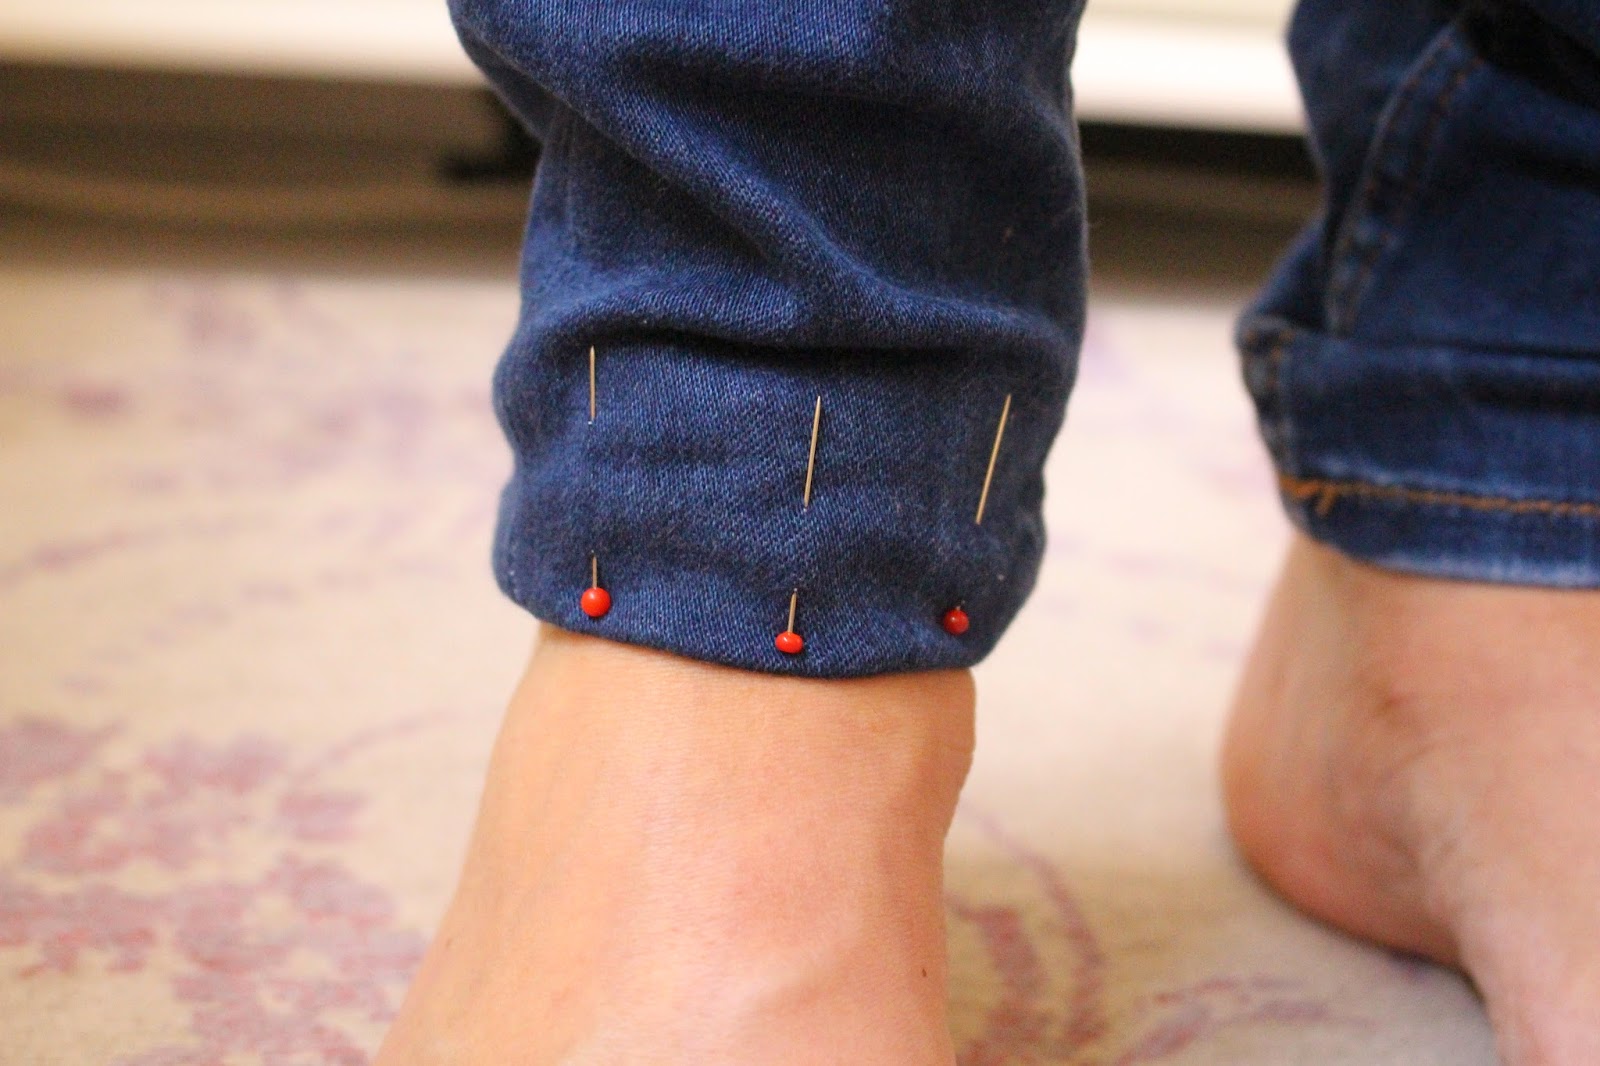
Use a pin to mark where you would like the hem of the jeans to end. Place this pin into the fold before removing the vertical pins. Next, measure the amount which the jeans are to be shortened by. Mine needed taking up by 1 1/2 inches.

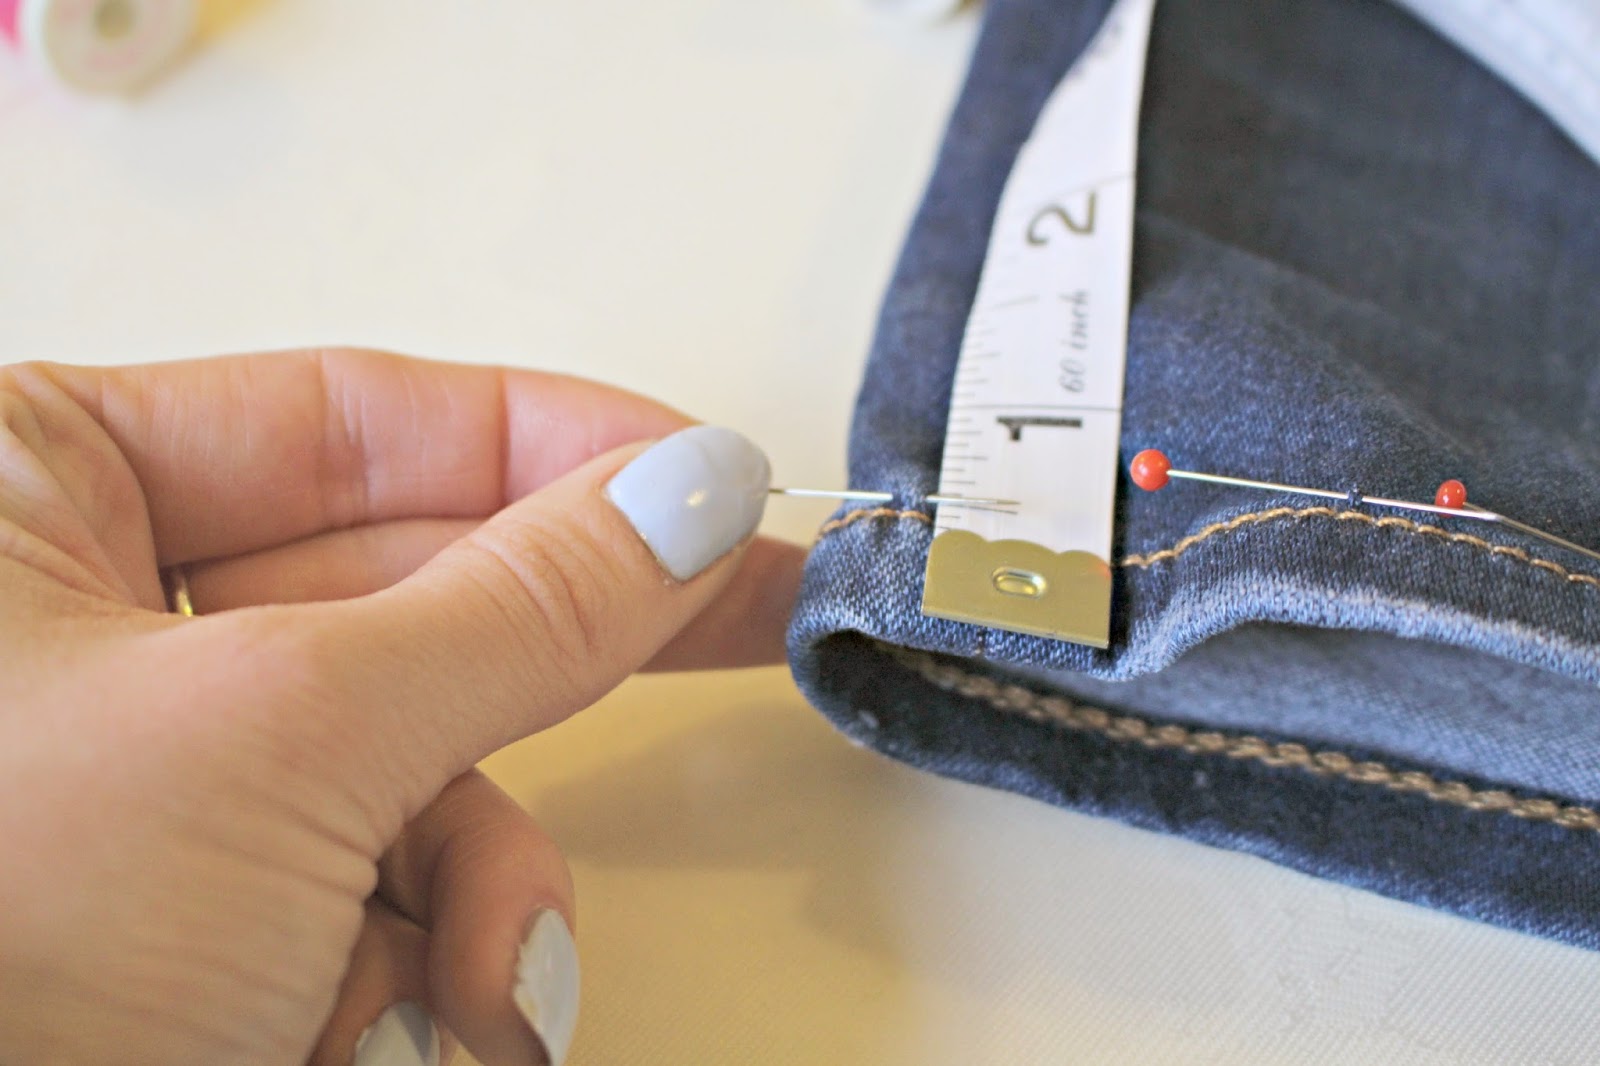
You’ll want about half an inch for folding to create a new hem, so hopefully your jeans need shortening by more than one inch! (Two half inches to create the hem, so one inch in total)
Whatever remains from the amount you want to take the jeans up by, is the amount you need to cut off. So mine is half an inch.
I hope this makes sense; so the jeans need to be taken up by an inch and half. Half an inch is needed for the fold, but as it will be folded in half for the hem, you need to double the amount, so an inch worth of fabric for the hem. The remaining amount, to be cut off, is half an inch.
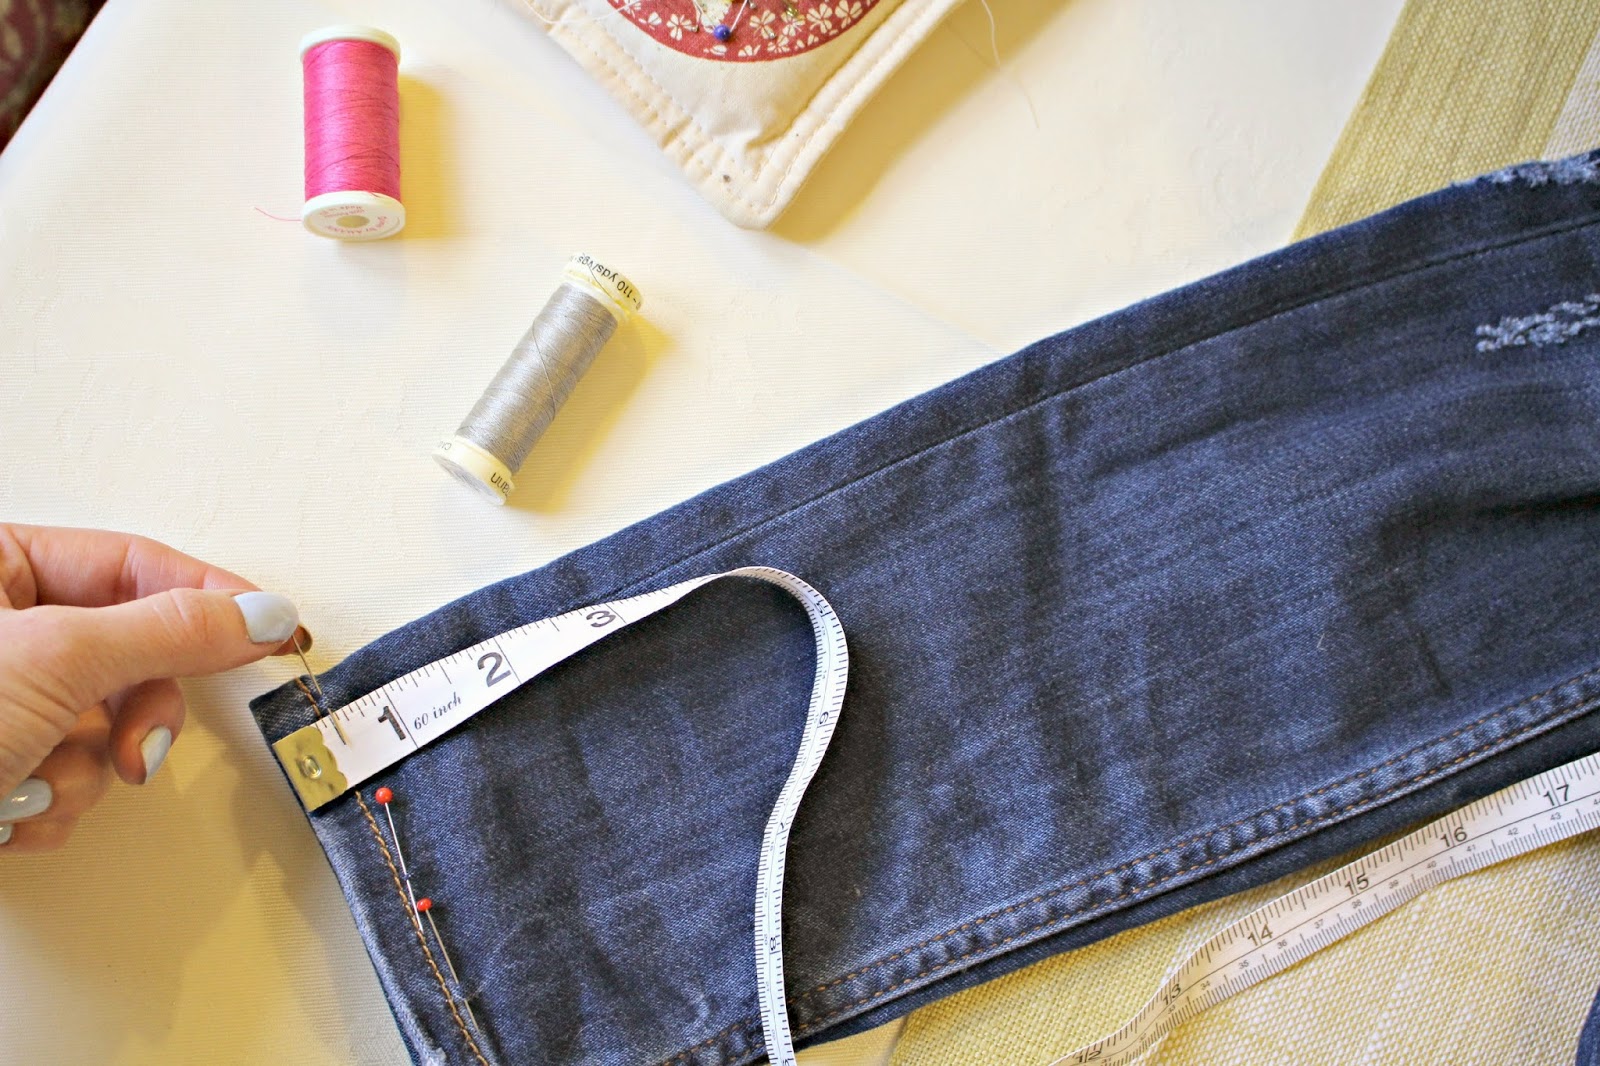


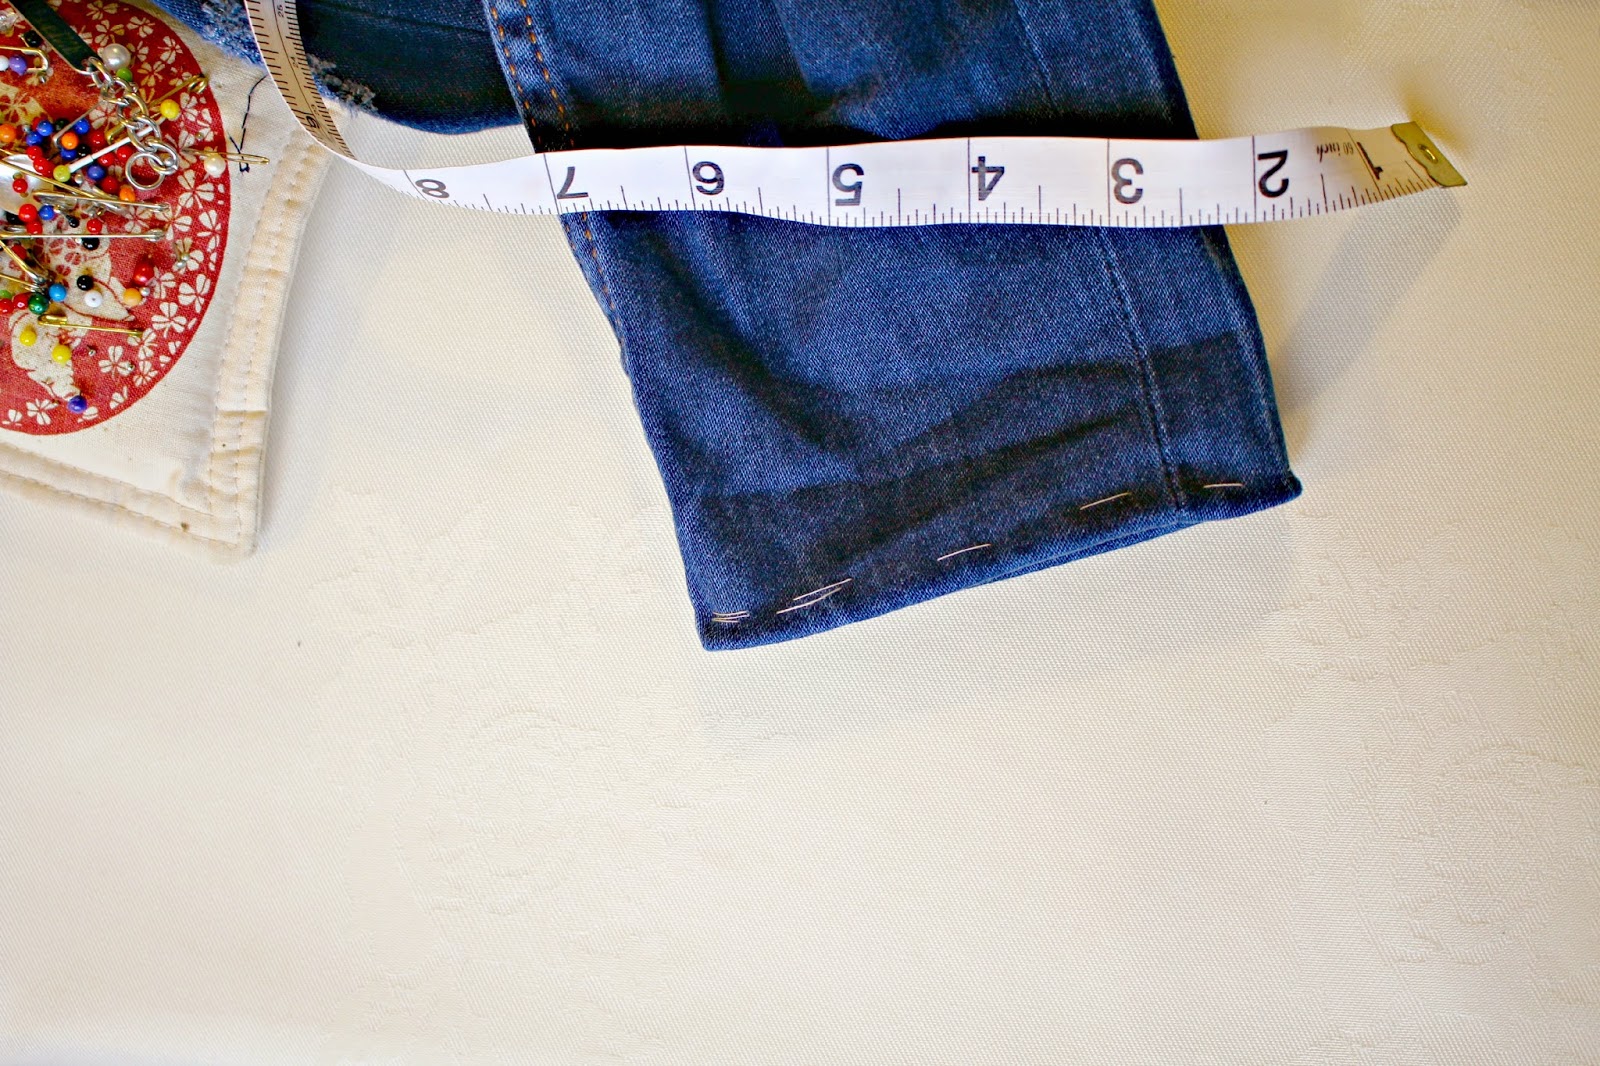
Once you’r confident with the measurements, snip off the old hem of the jeans. You then will need to fold the jeans up by the half inch. Then, pin the hem up evenly all the way round.

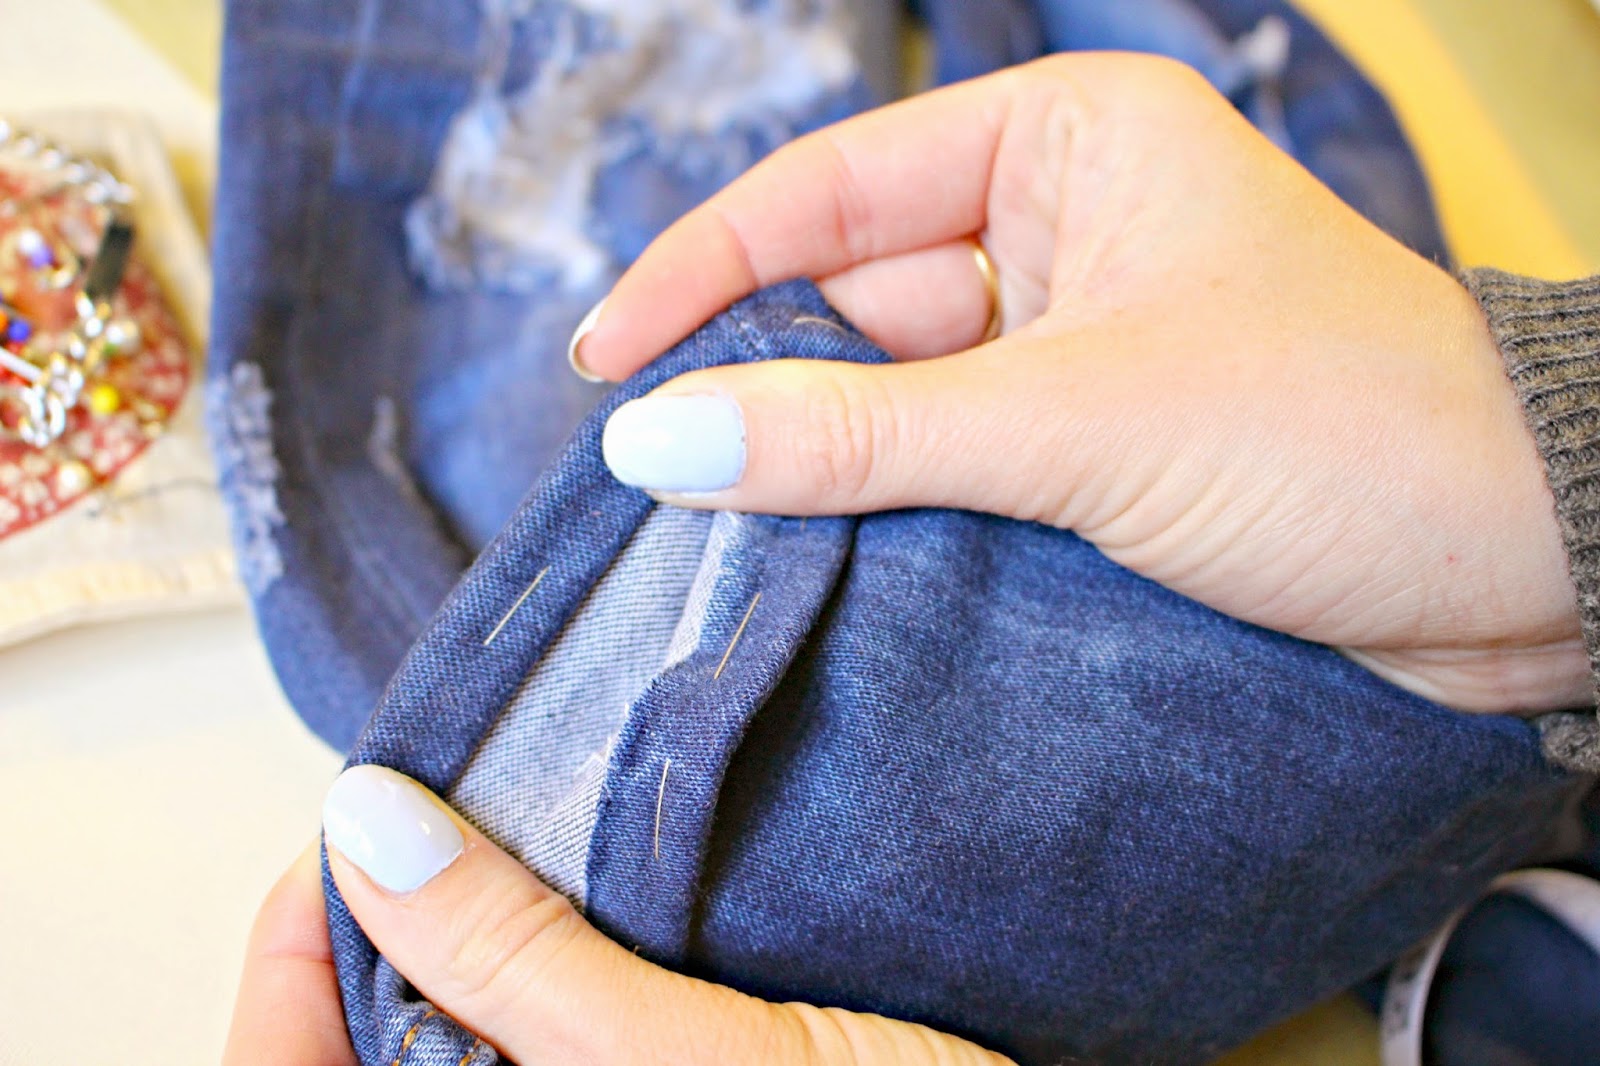
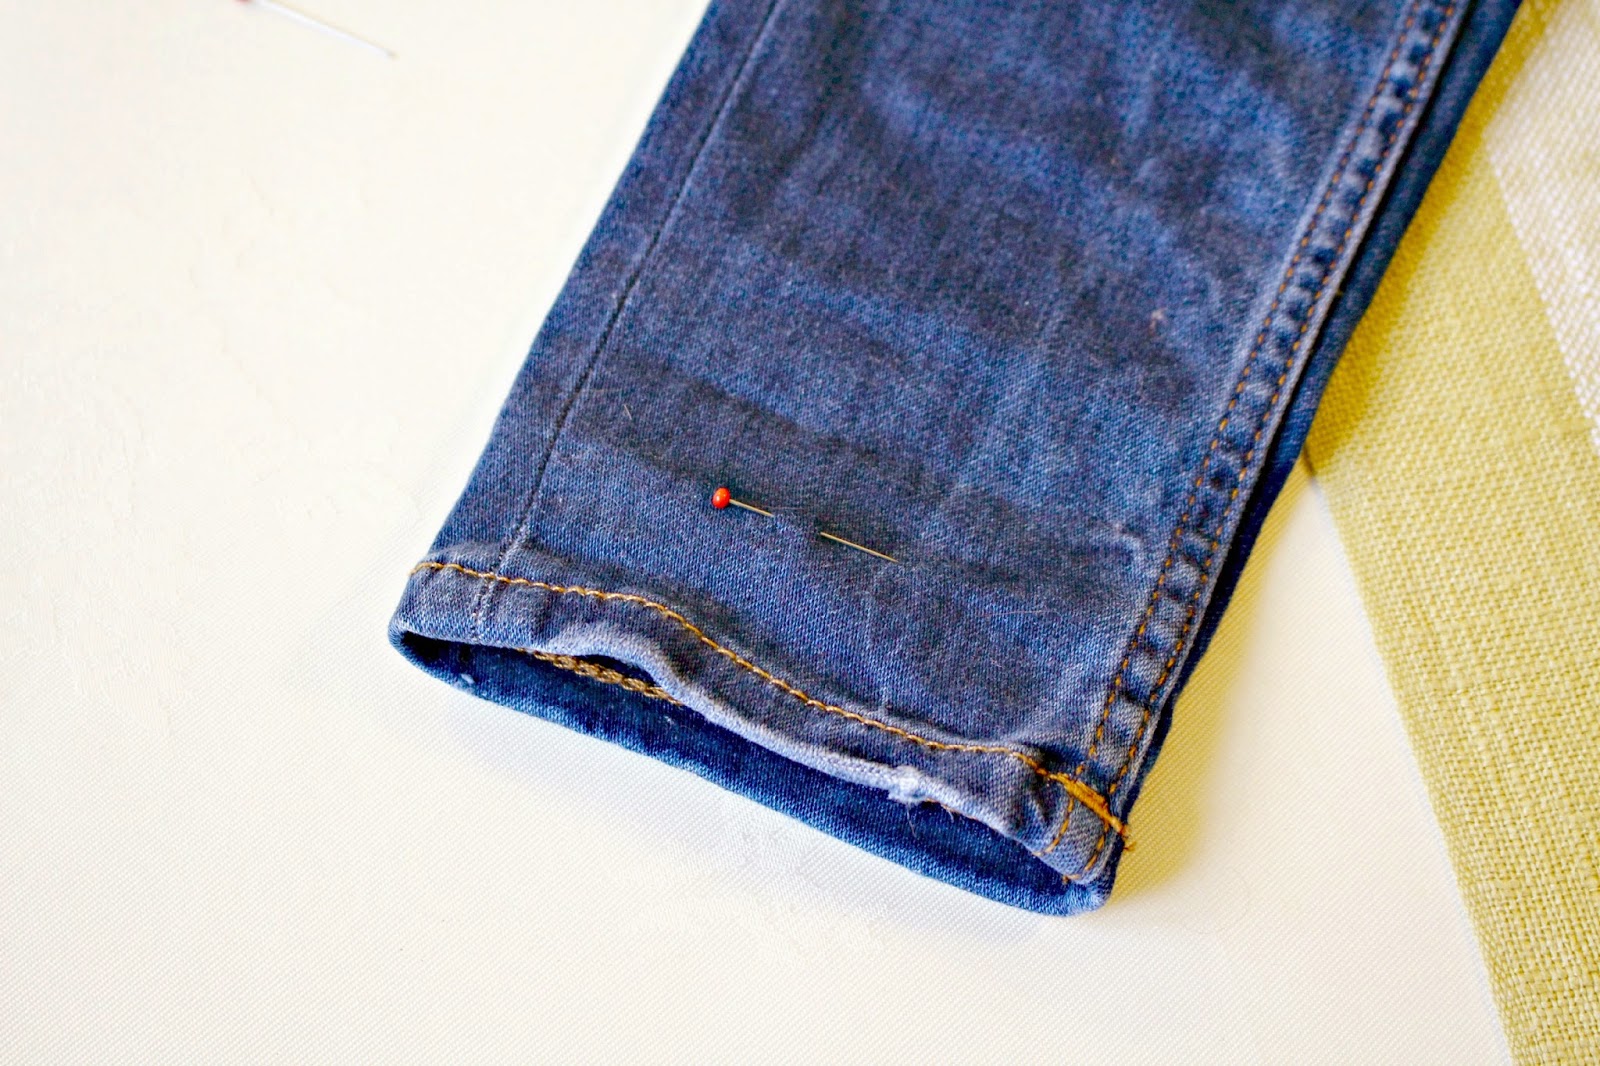
Using a thread which is a different colour to the denim, loosely tack around the hem, using big stitches which will be easy to remove.

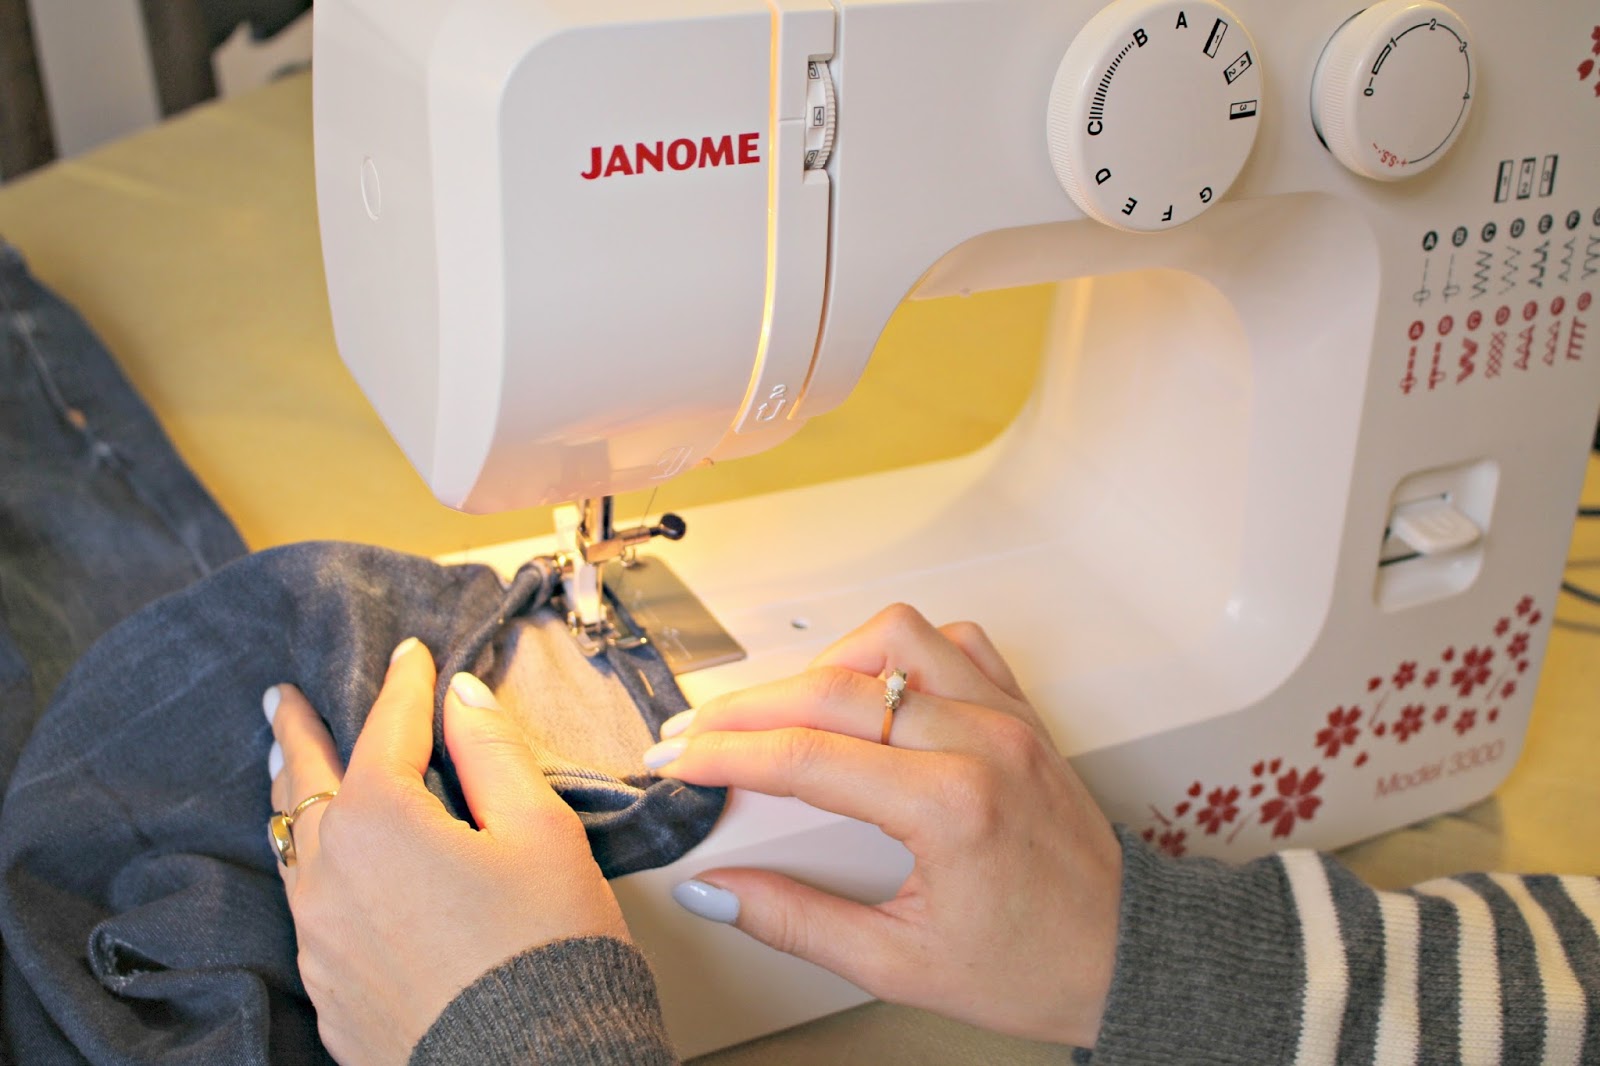
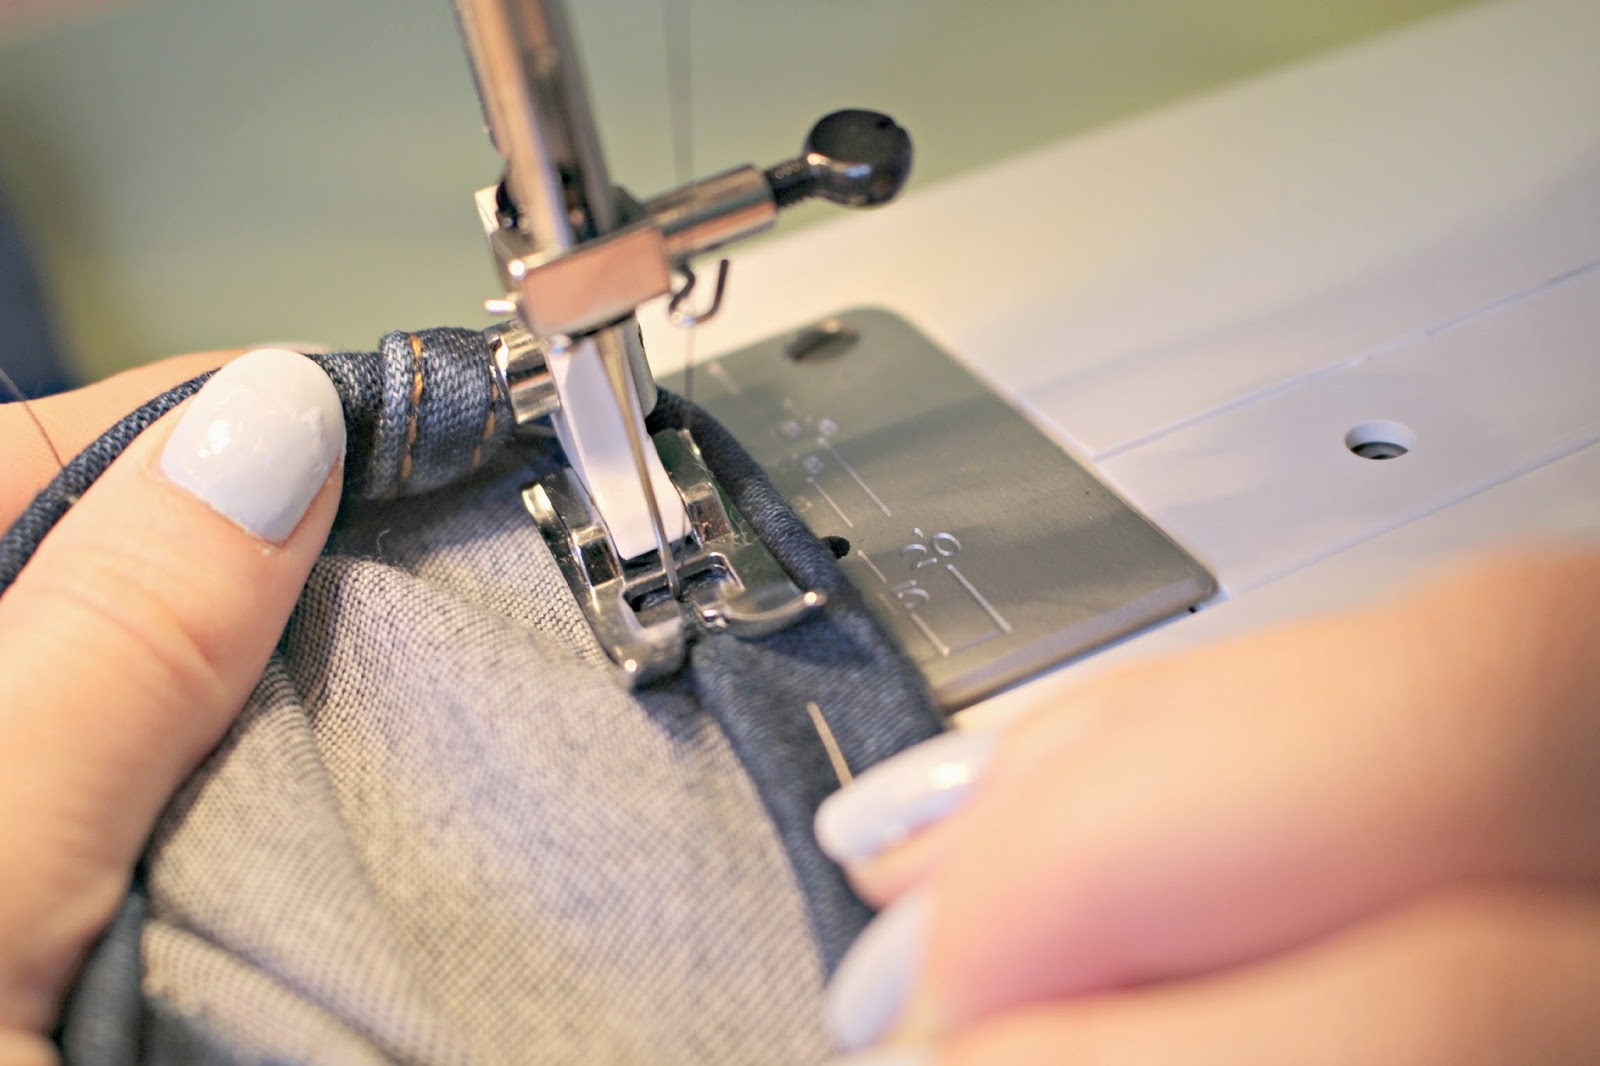
Then, using the basic straight stitch setting (setting A on the Janome), sew close to the edge of your new hem. If you’re a little nervous on a sewing machine, test out the stitching on some of the fabric which you cut off. Use the markers on the machine to ensure you sew a straight line, and line the fabric up as much as possible ahead of the stitching. When going over the seams, I prefer to use the wheel to guide the needle over the thicker sections of fabric. I found this out the hard way after I once snapped a needle trying to use the foot pedal! When you meet your first stitches, you might want to do a couple of reverse stitches just to finish it off.
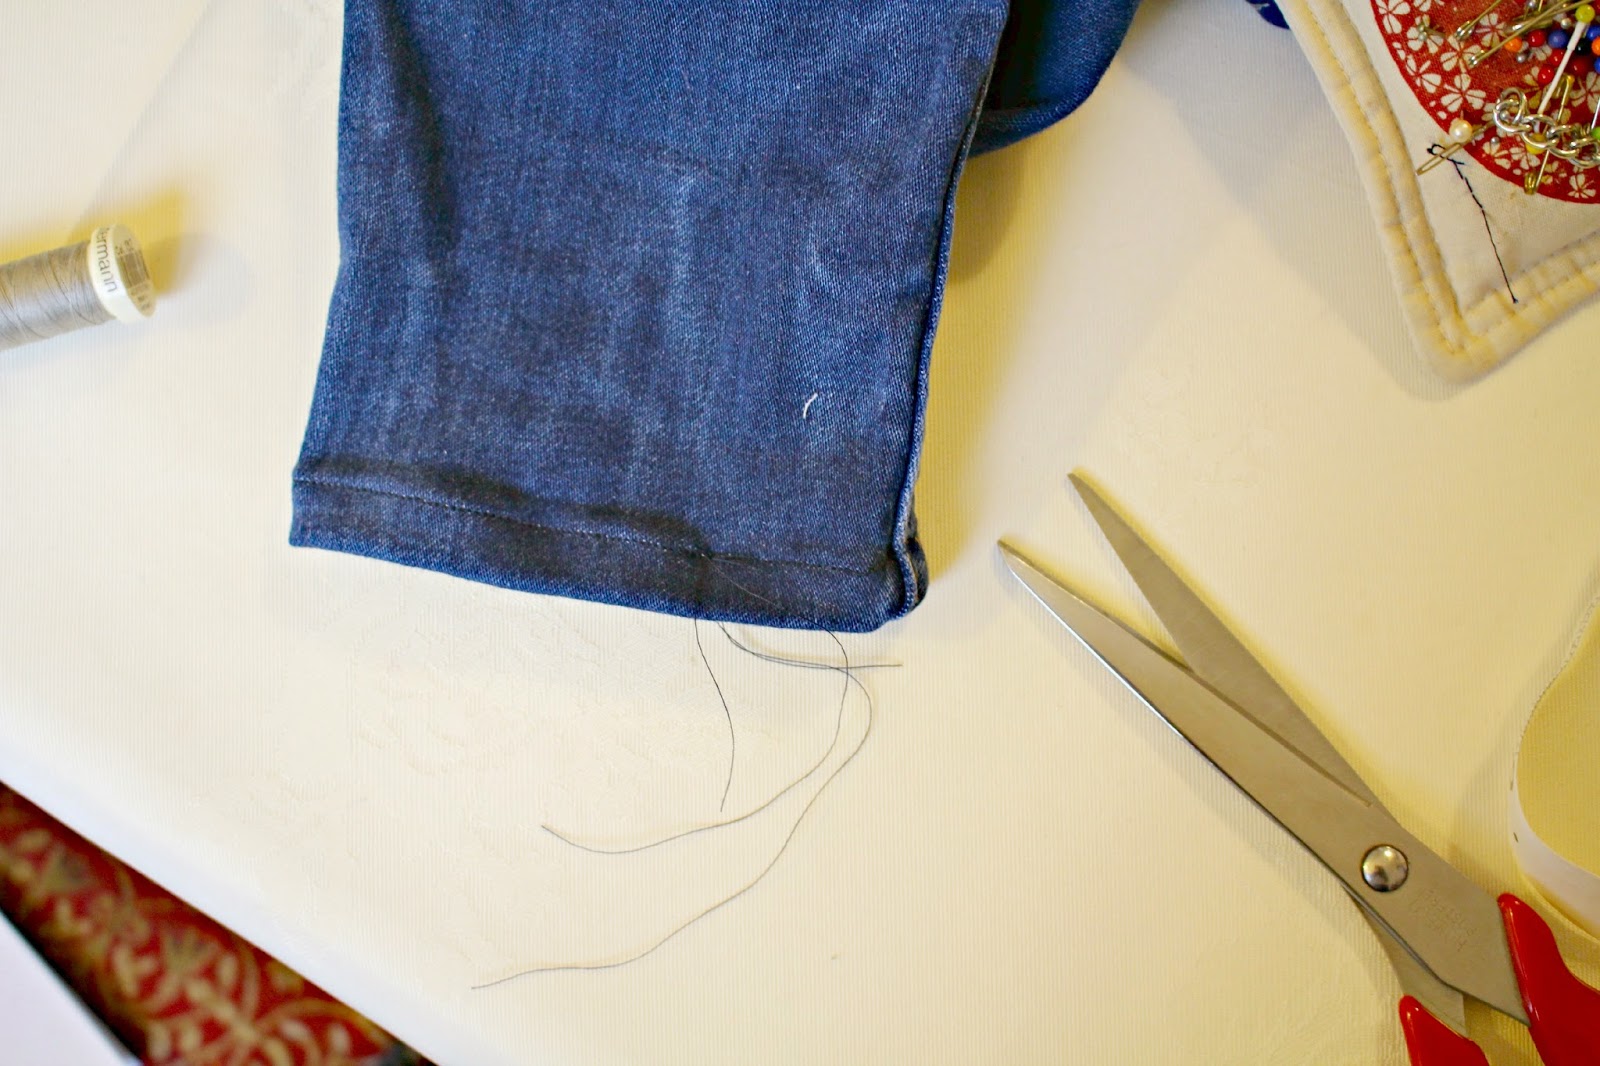
Finally, remove any loose threads to tidy up the stitching, and repeat for the second leg. For super neat results, iron the new hems on your jeans so that they lie perfectly flat.
It’s as easy as that!

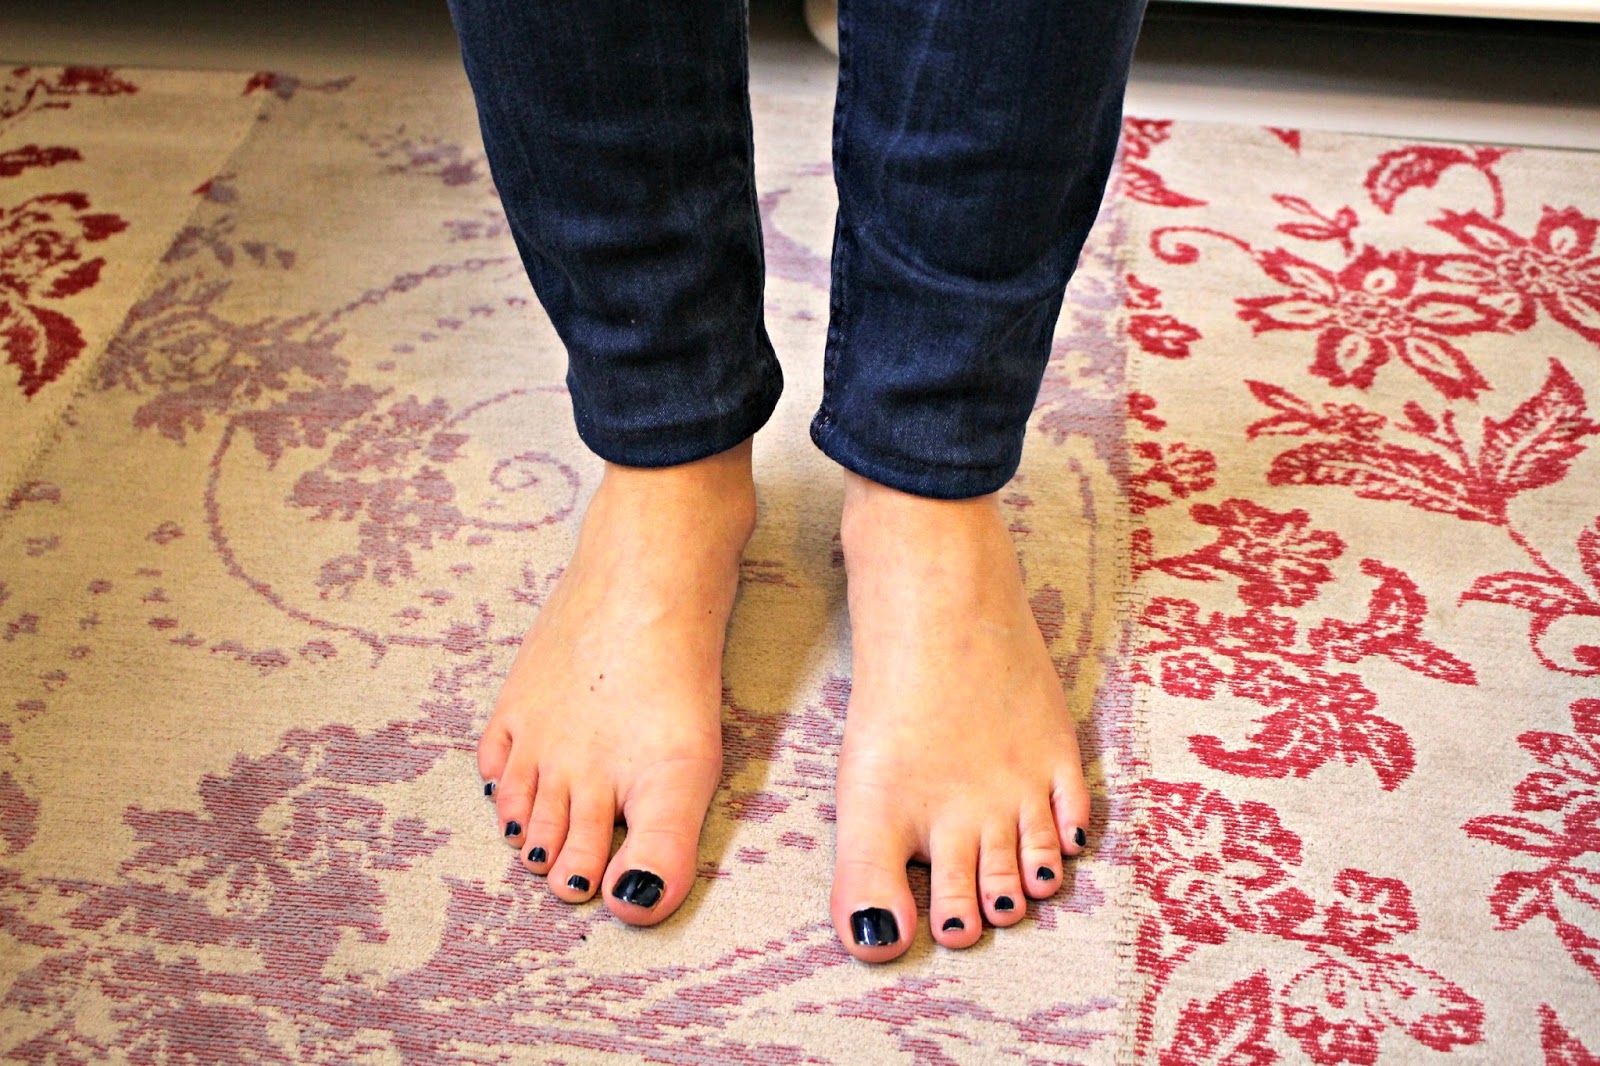
Your jeans should now be the perfect length for you, so no more baggy ankles!
I hope you find this easy DIY tutorial useful, let me know if you’d like me to do more easy home clothing alteration posts!


