
What is a herbaceous border?
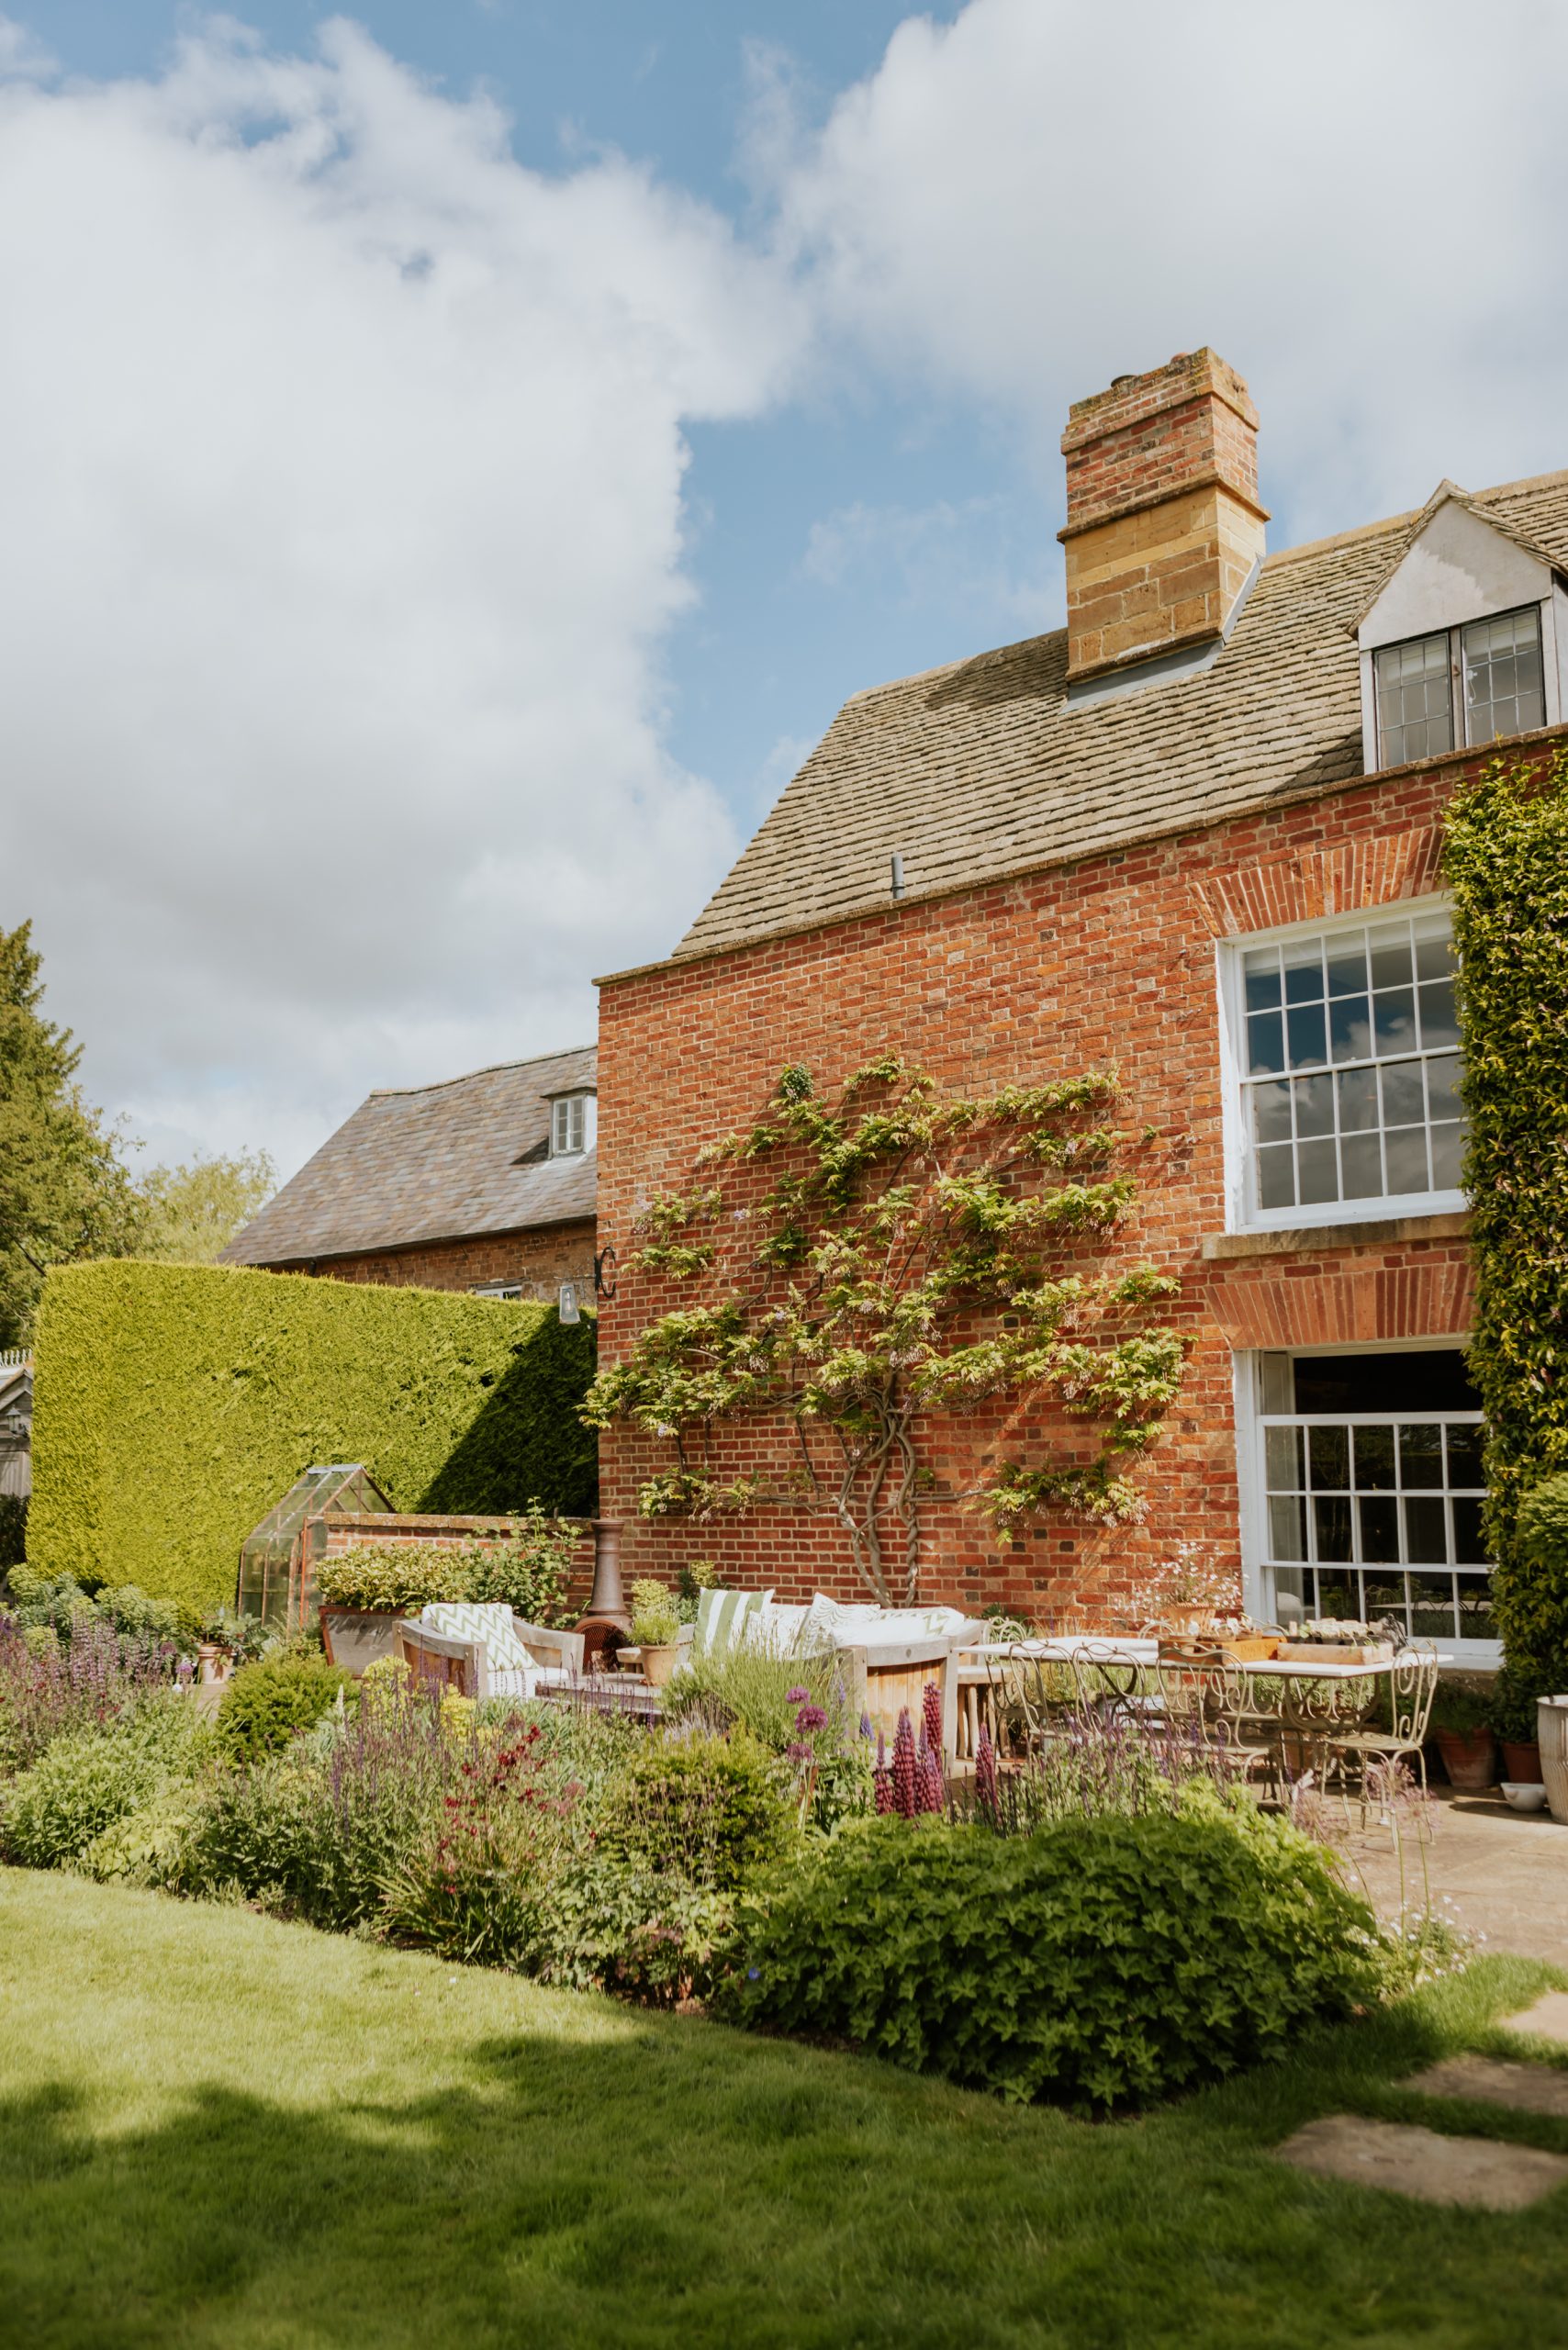
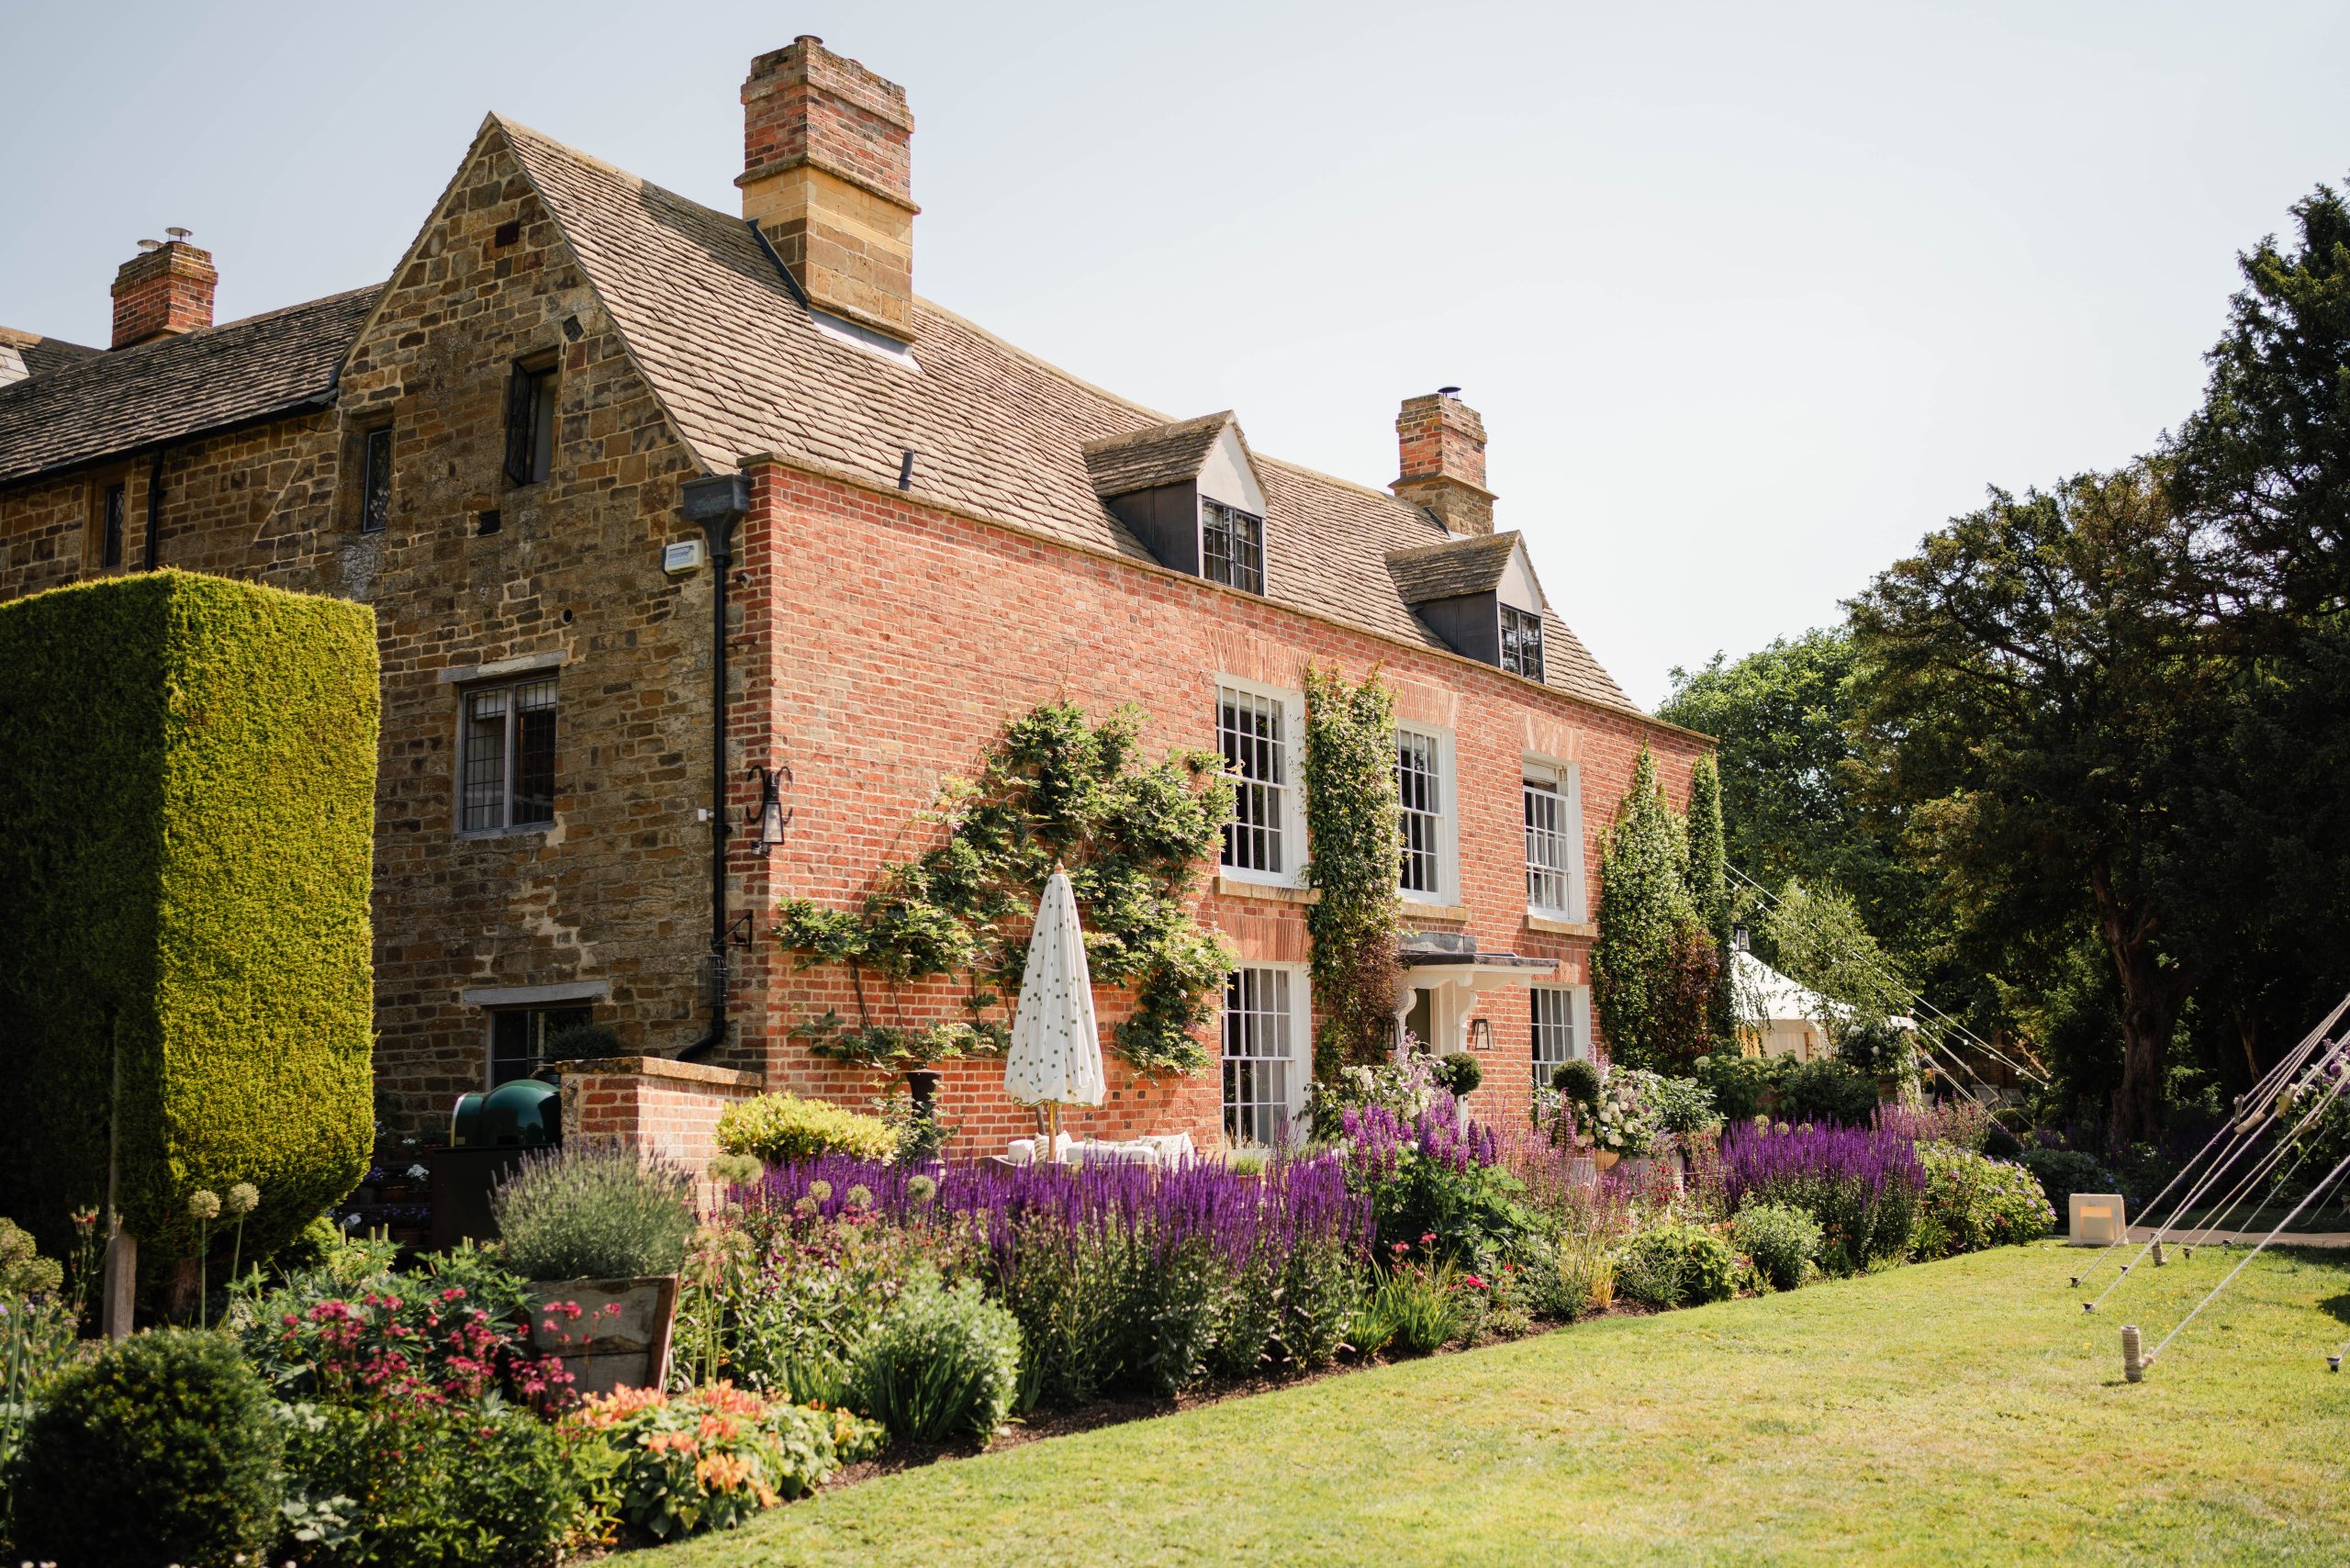
If you’d have asked me what a herbaceous border is 5 years ago, I’d have given you a rather quizzical look. Although I thought gardening was fun and recognised that I felt good after spending time outside in our London garden, it’s really been since our move to the Cotswolds in April 2020 that my passion and knowledge for gardening has really grown. The part of our garden (perhaps aside from the raised beds kitchen garden) that brings me the most joy, is without doubt our herbaceous border. It’s now a phrase that I utter on a weekly basis, and certainly more so during Spring and Summer; when showing guests around our home and garden for the first time, or when sharing gardening advice with friends and followers alike.
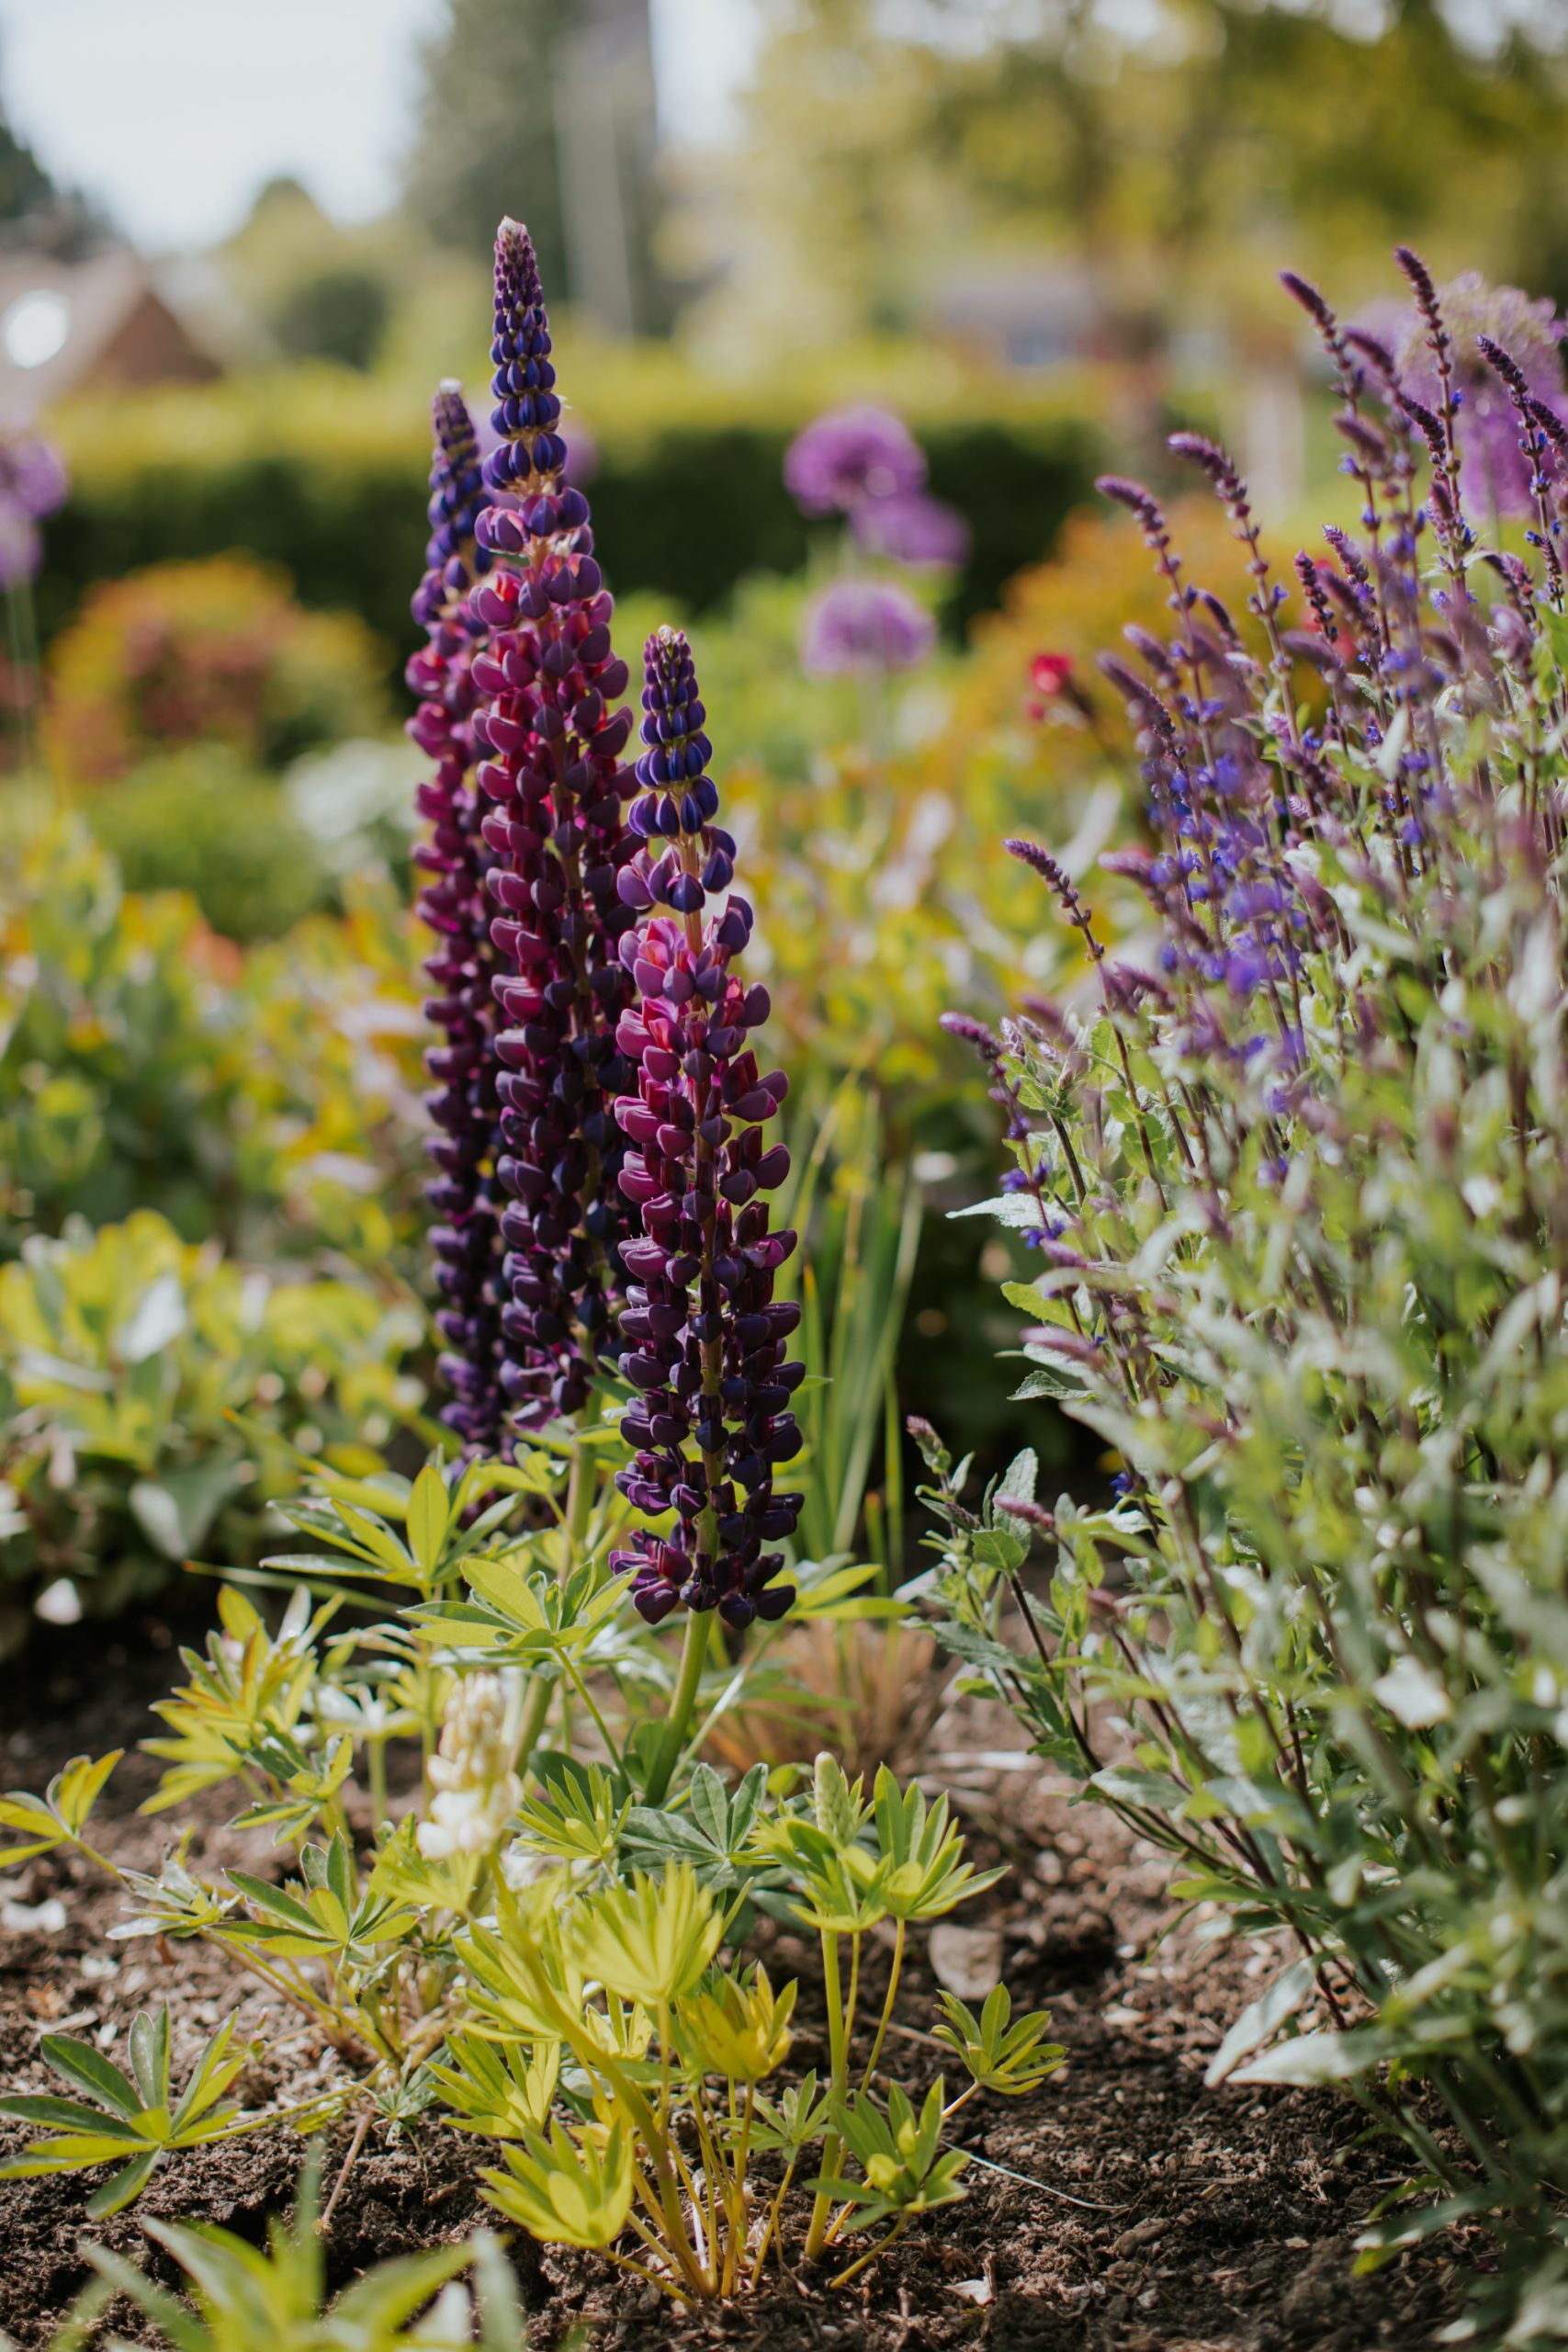
A herbaceous border is typically defined as a collection of perennial herbaceous plants that are arranged to create a beautiful effect with thought given to their placement based on their colour, their scale, their shape, and the time of year that they bloom. You mostly find them in the UK, and although I’m biased, I think you find the most wonderful ones in the gardens around the Cotswolds.
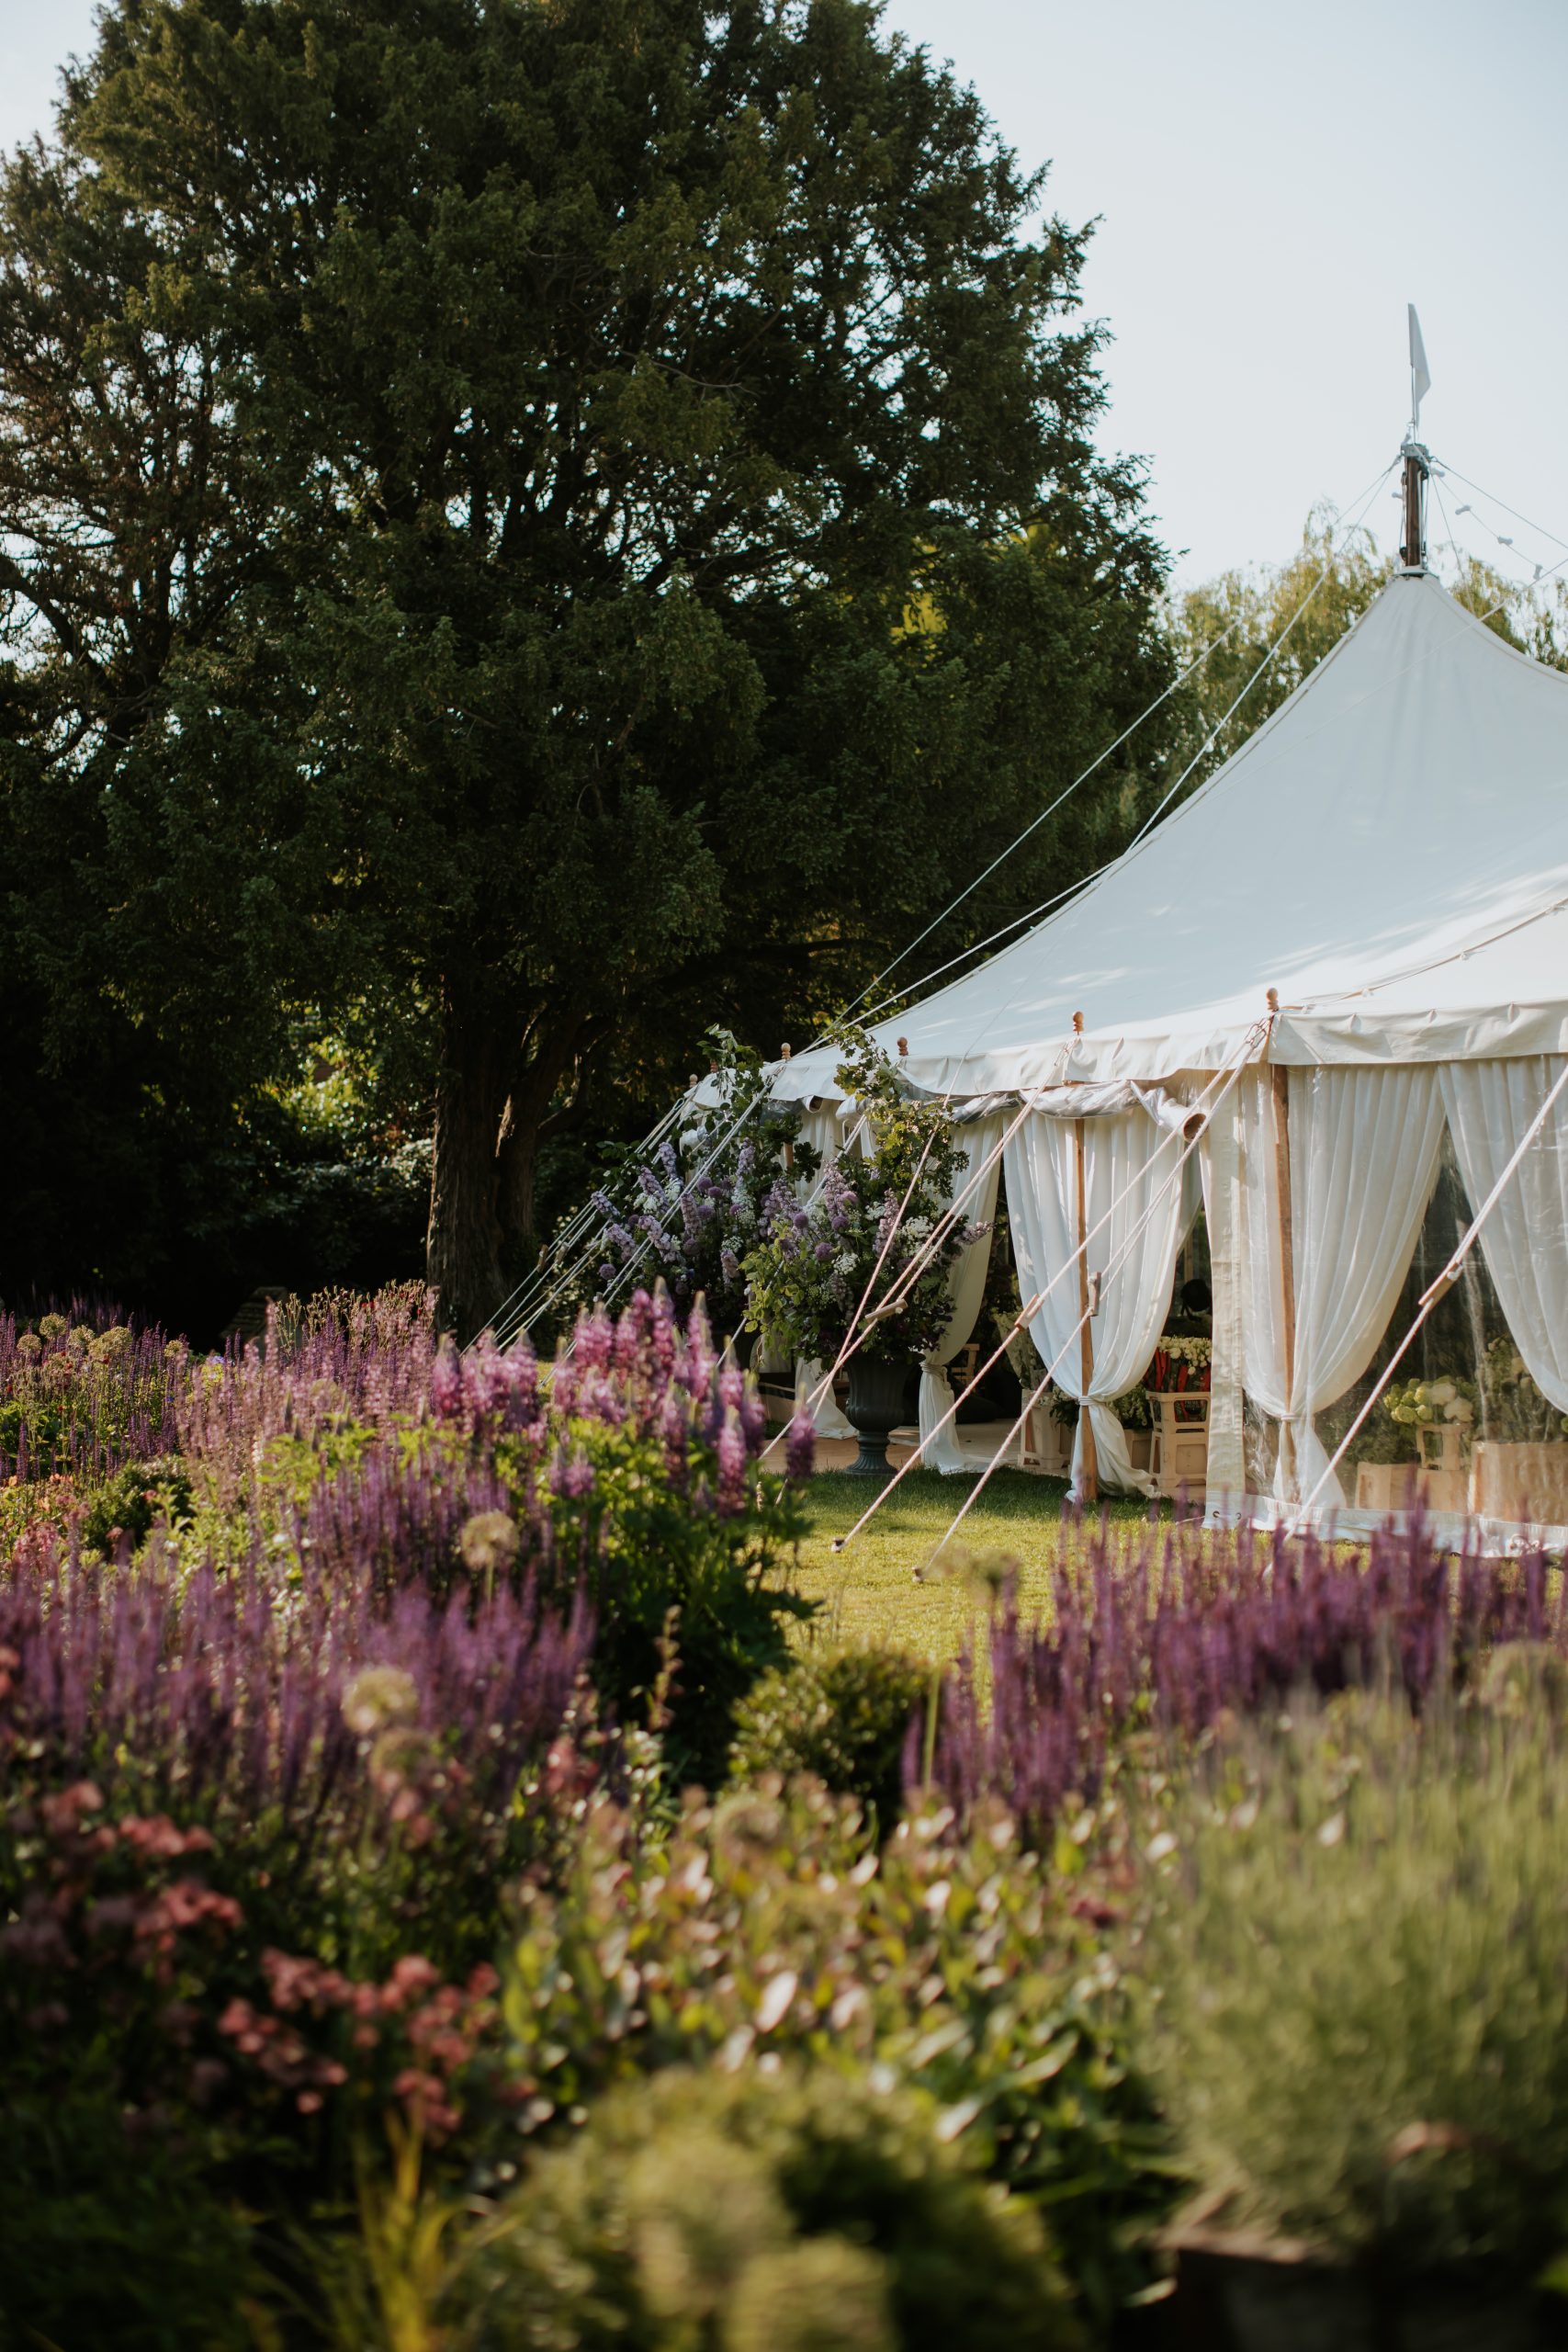
A herbaceous border changes almost weekly between April and October; with different flowers and plants coming into bloom at different times. Each year it evolves; with some plants out-competing their neighbours, and certainly no 2 years are the same. You can create a structure and then amend it every year, or keep adding in to it through the seasons as you please.

Creating your very own herbaceous border may seem like a daunting process, but it’s easy than you may think. Read on for the ultimate guide on how to create your dream herbaceous border!
Purchasing your perennials
If you want the best value for money, I’d recommend purchasing your perennials as bare roots. Bare root means that your plants will be delivered to you in their dormant state, as a bunch of roots in a bit of soil. One of my favourite places for ordering my bare roots is Farmer Gracy. Farmer Gracy is a wonderful company based in The Netherlands who sell gorgeous bare root perennials and bulbs to keep you in blooms year round.
When choosing your perennials, there are many things to consider. Firstly, if you live in a cool climate, you may want to stick to plants which say they’re ‘fully hardy’. Next think about the location of your border – is it going to be in full sun or partial shade, for example? Be sure to get the appropriate plants for the space. Luckily, when you click on a plant you like on Farmer Gracy, it tells you all of this information, making it really easy to decide which plants will work best. Perennials tend to look best when planted in groups of three if they’re fairly small plants; while plants that get very large such as geraniums can look effective planted alone. Be sure to have a loosely repeating pattern of plants along the border – so perhaps you’ll have three phlox planted together at one end of the border, another group of three roughly in the centre, and another three at the other end of the border, and so on for each plant. You don’t need to strive for perfect symmetry; a loose symmetry is all you need for a beautiful border.
The next thing to consider is the flowering time of each plant. You want to extend the life of your border as much as possible, and so choose a group of perennials that between them, flower from May to September. You can further extend the flowering of your border by adding in winter or spring flowering bulbs (mostly planted in Autumn); summer flowering bulbs such as dahlias which can flower until October; plus some evergreen bushes for winter structure.

Use code JOSIE to get 10% off your Farmer Gracy order here

Creating your dream border
Ok so it’s March / April and your Farmer Gracy bare roots have arrived… what next? Your bare roots are too little to go straight into your border, so get each plant potted up in its own small pot (labelled!) and keep watered. By late April or early May, your plants will be ready to be planted in your border.
To actually create your border, measure out the area and mark it using string and some tent hooks or little sticks. Dig down to remove the top layer of grass or soil, removing any large stones, then replace with a good layer of compost. Water the border deeply before planting. Once your border has been prepared, it’s a good idea to lay out your plants on top of the border, and play around with the positioning. Keep in mind what will be in flower at certain times of year, and spread your colours evenly through the border.
Once you’re happy with the positioning, simply dig a hole for each plant, and put them in. Keep your plants well watered until established. Your border may look a little empty when you first plant your border, but trust me – it will be looking fabulous in no time!