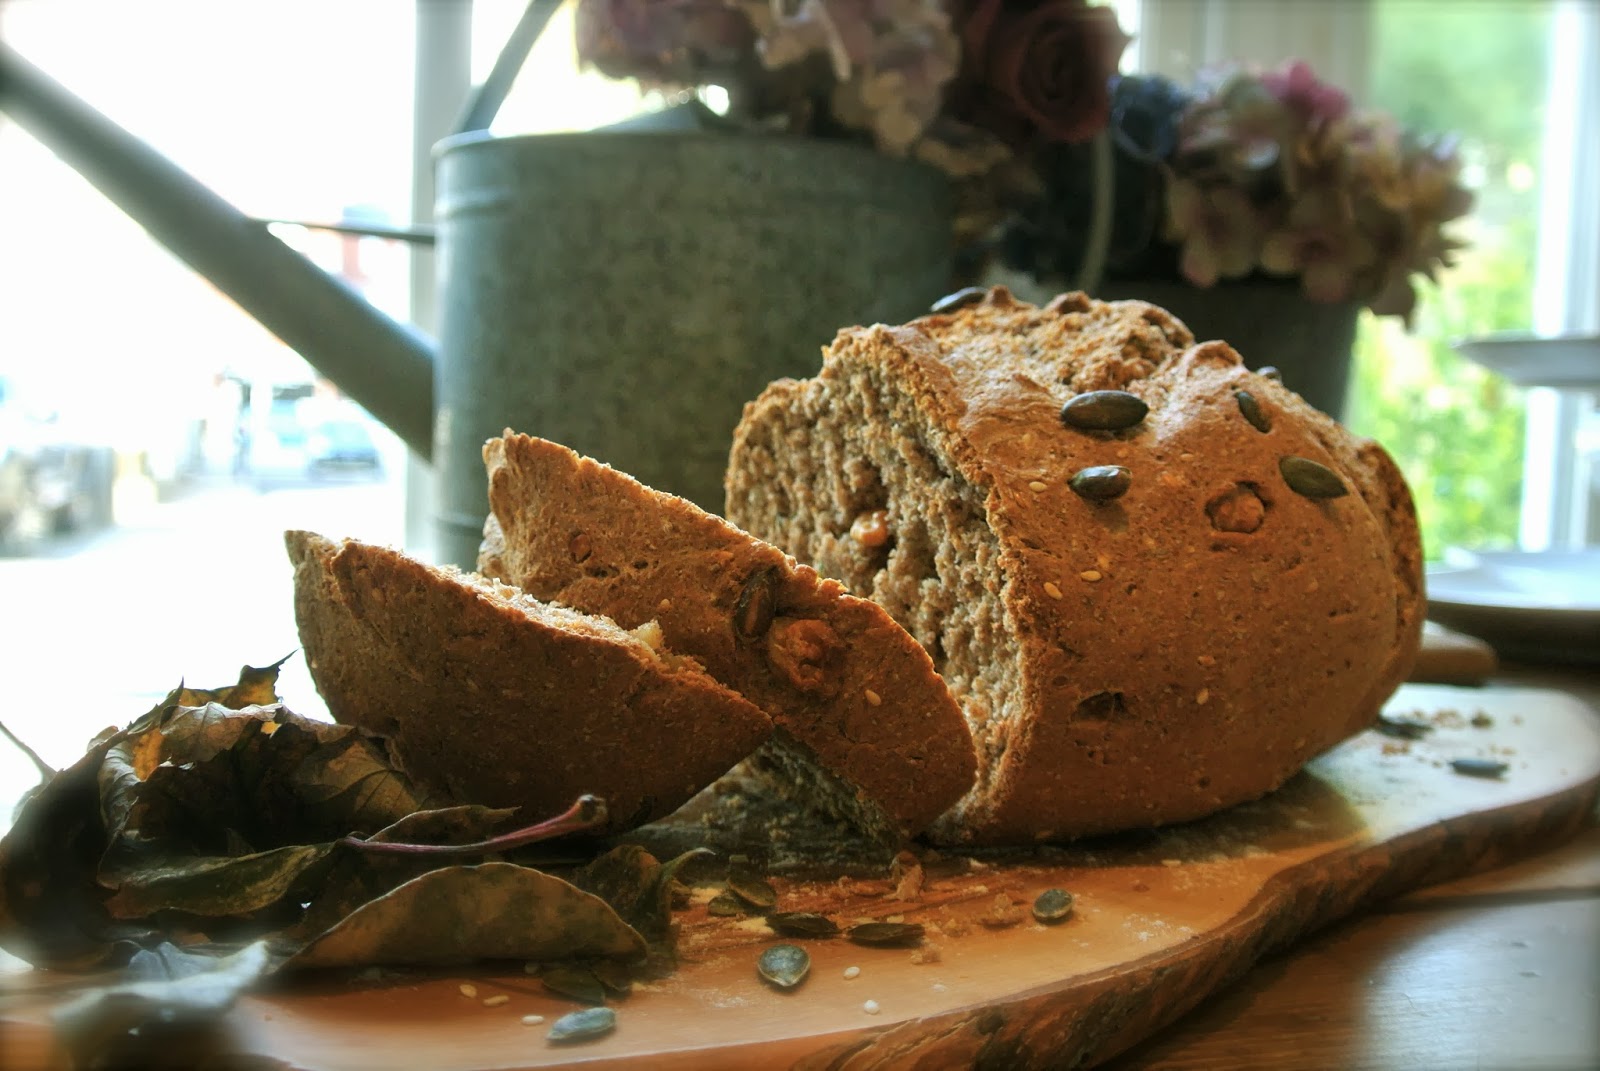
Autumn is probably my favourite season, not just because it means my birthday is soon (YAY!) but there is nothing quite like slipping on your Onesie and snuggling up with a bowl of warm soup with freshly baked Walnut and Pumpkin bread, and this recipe is just so unbelievably easy.
Living in London, the leaves are only just starting to change, but that won’t stop me already shifting towards the warm comforting recipes which I save for this time of year. This recipe produces a doughy, moist textured loaf peppered with Pumpkin and Walnut pieces, as well as a selection of other seeds, resulting in a rich and earthy flavour.
It’s also such a versatile recipe, you can eat the bread while it’s still warm with a slab of butter and jam, or save it for a mid-afternoon treat to take to work.
Warning: It is very more-ish, so while I am trying very hard to write this post, I’m being severely slowed down because I simply can’t stop nibbling!!

You will need:
Strong Wholemeal Flour (I use Allinson Very Strong Wholemeal Flour, from Sainsburys)
2 tsp of Yeast (Again, I use Allinson, available in supermarkets)
1 tsp Salt
200ml Warm Milk
150 ml Warm Water
100g Mixed Seeds (I used Linseeds and Sesame Seeds)
50g Chopped Walnuts
30g Pumpkin Seads
Sunflower Oil Spray to grease the tin.

In a large mixing bowl, add the flour and seeds. I prefer to mix this gently using my hands but you can also use a wooden spoon.
In a jug, mix the warm milk (not too hot or it will kill the yeast) with the salt and yeast.
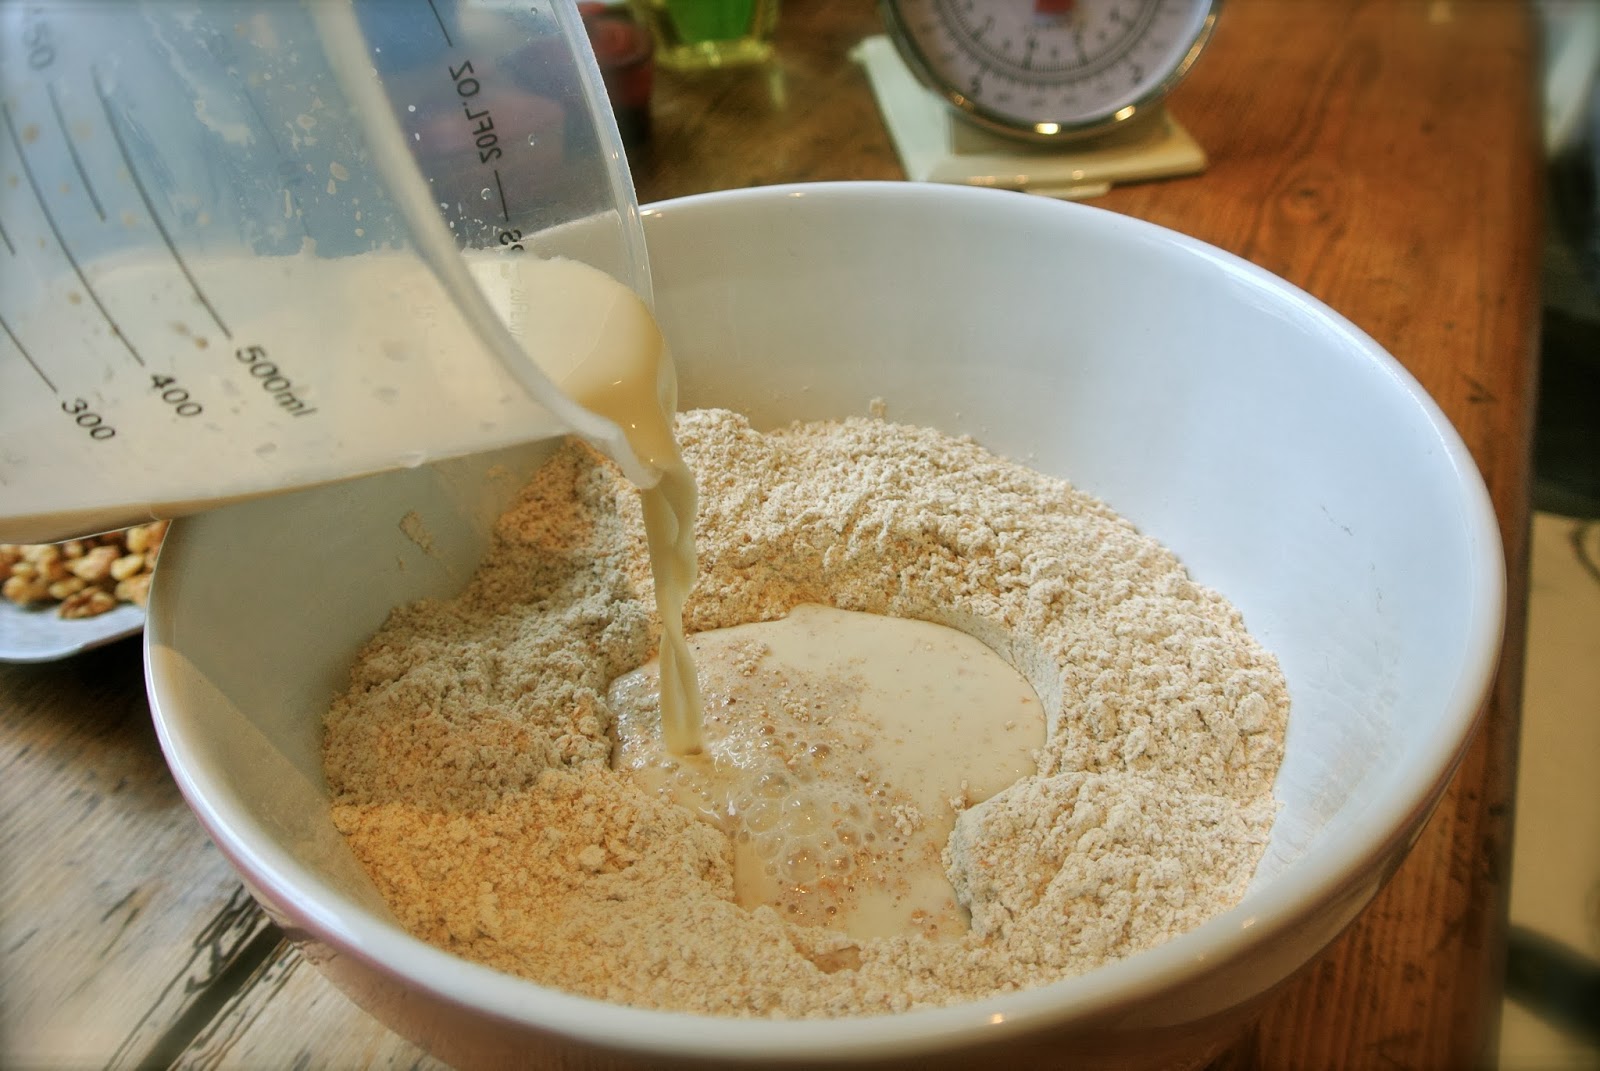
Make a well in the flour/seed mixture and pour the milk mixture in. Mix it well with your hands (it is really sticks so prepare for doughy fingers!!). Add the water slowly, you many not need it all, until you can form a ball out of the dough.
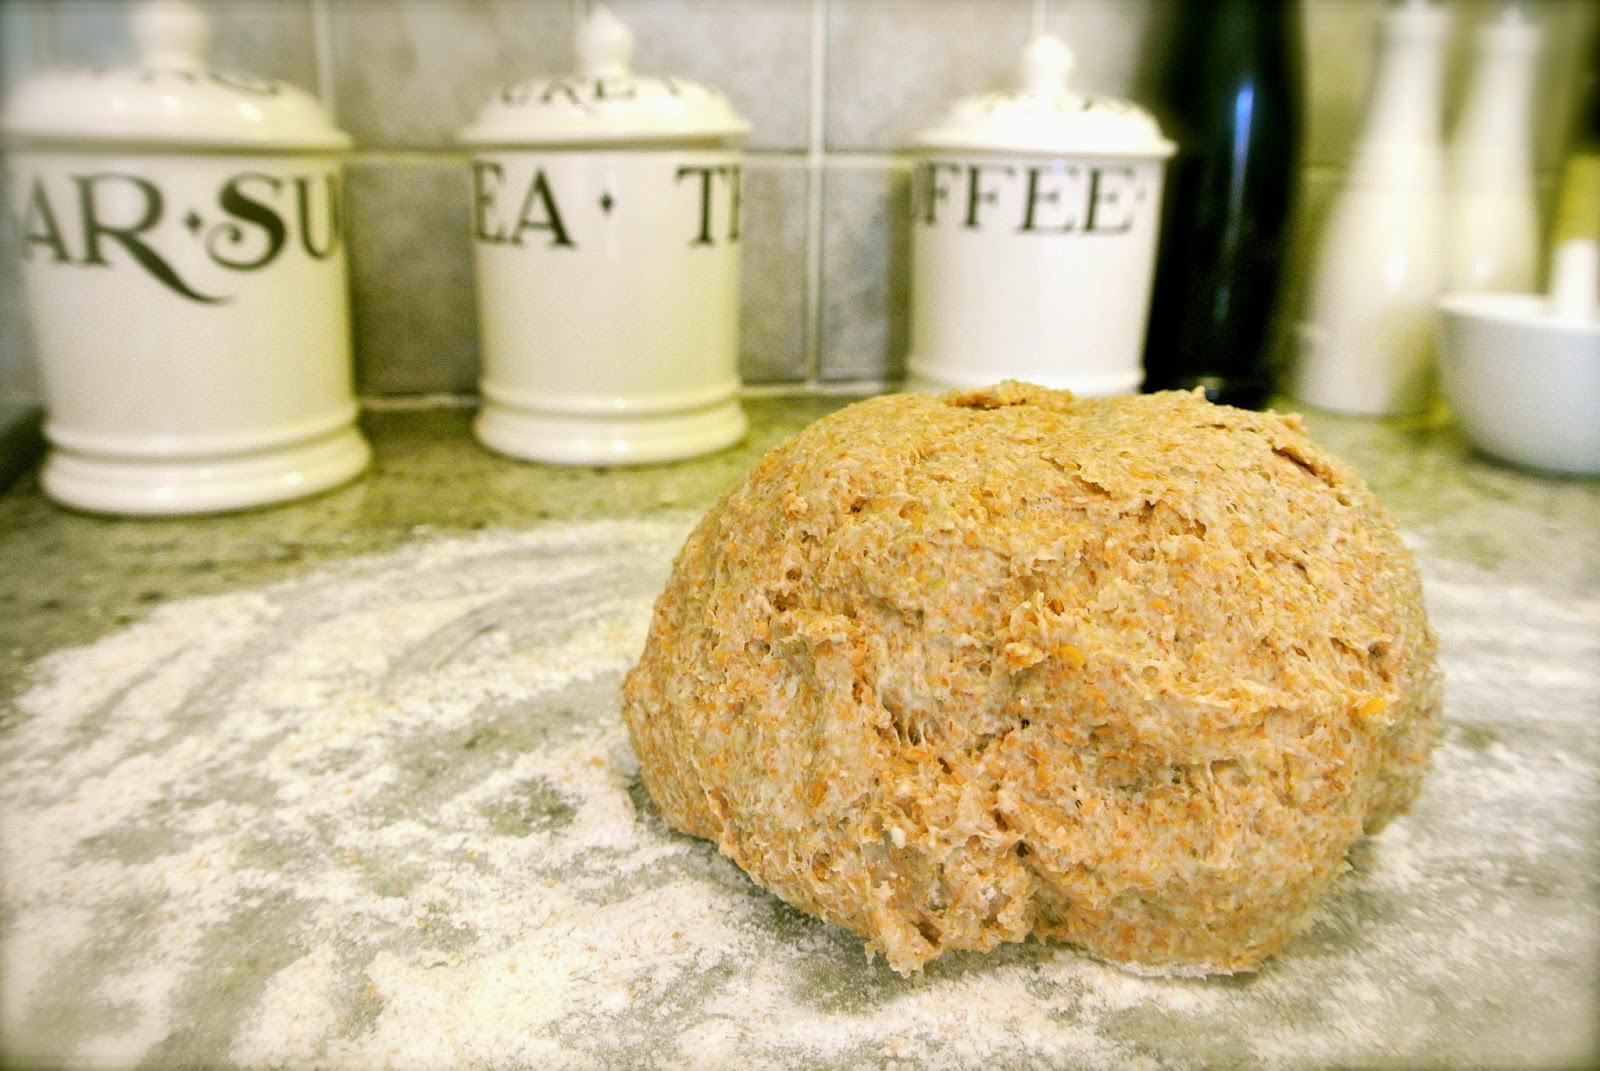
Place the dough onto a surface sprinkled with flour, and fold in the walnuts and pumpkin seeds.
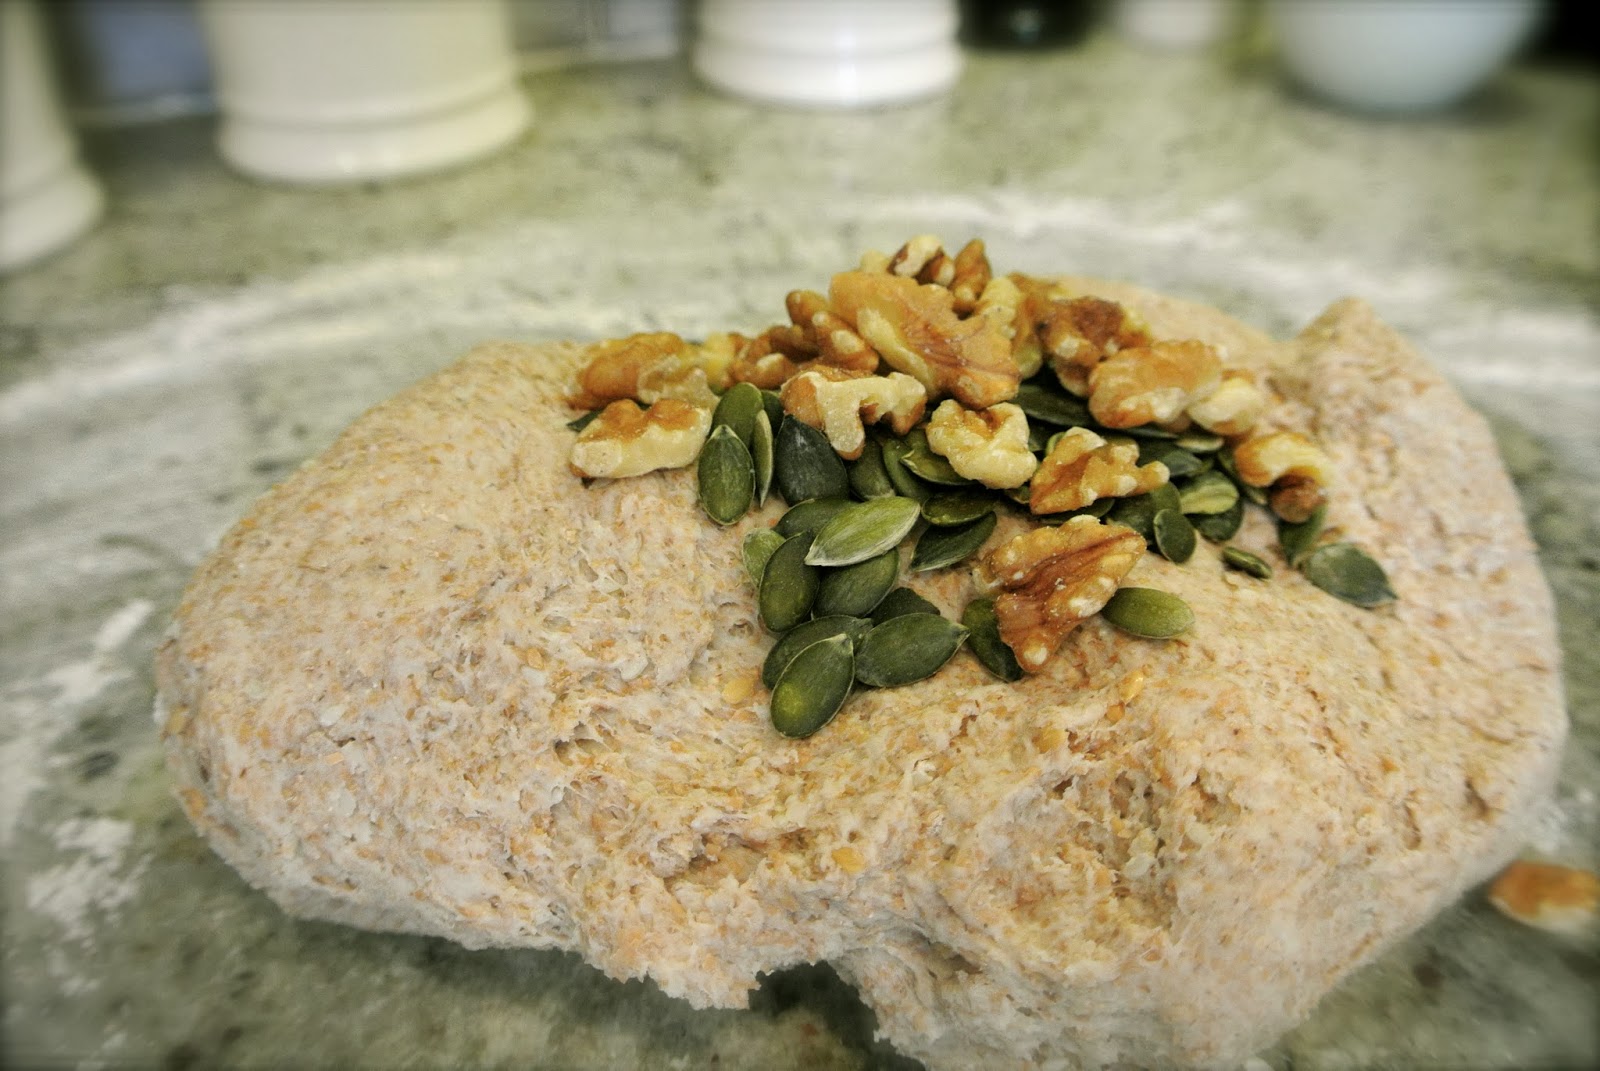
Now knead the dough for at least ten minutes. The trick to kneading is to keep folding the dough in half, then pressing all of your body weight onto it with the heels of your hands. Flip the dough over and repeat for at least ten minutes in total.

Once the dough is kneaded thoroughly, it should feel relatively springy, place it in a clean bowl and cover with a tea towel. Leave the dough to prove for about 40 minutes in a warm place. I pop mine in the airing cupboard.
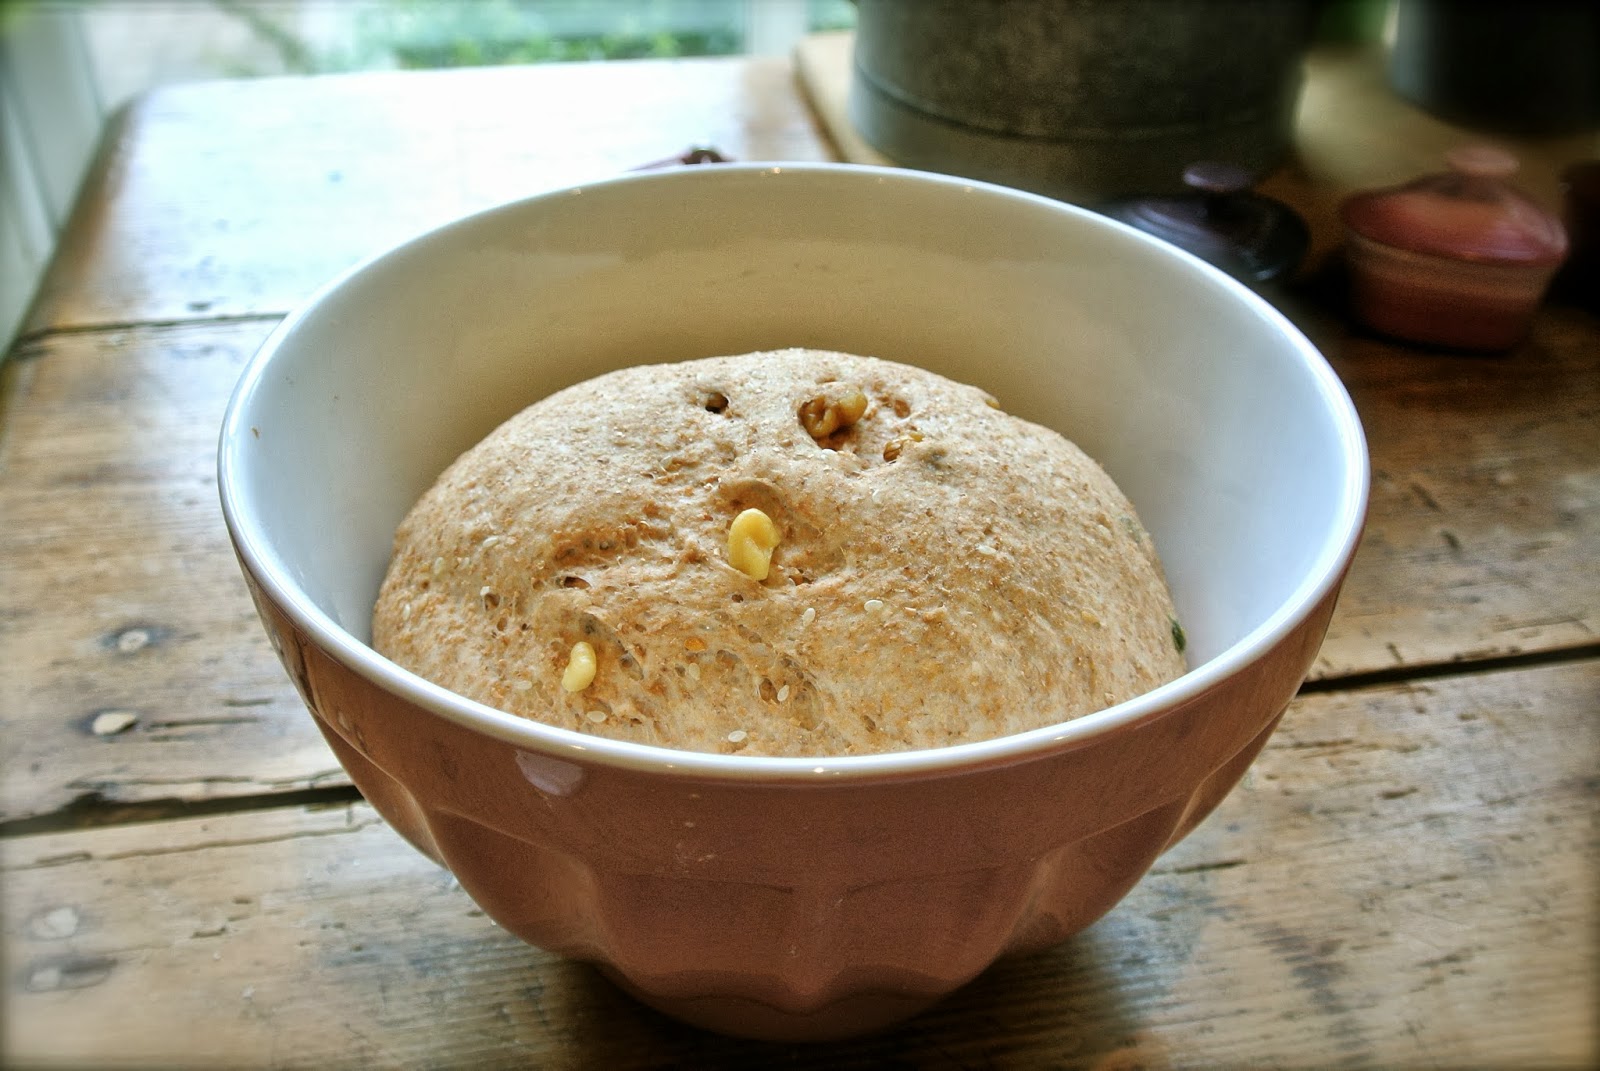
After 40 minutes, the dough should have almost doubled in size. At this point, turn your oven onto 220 degrees (fan oven) or 200 degrees for a normal oven.
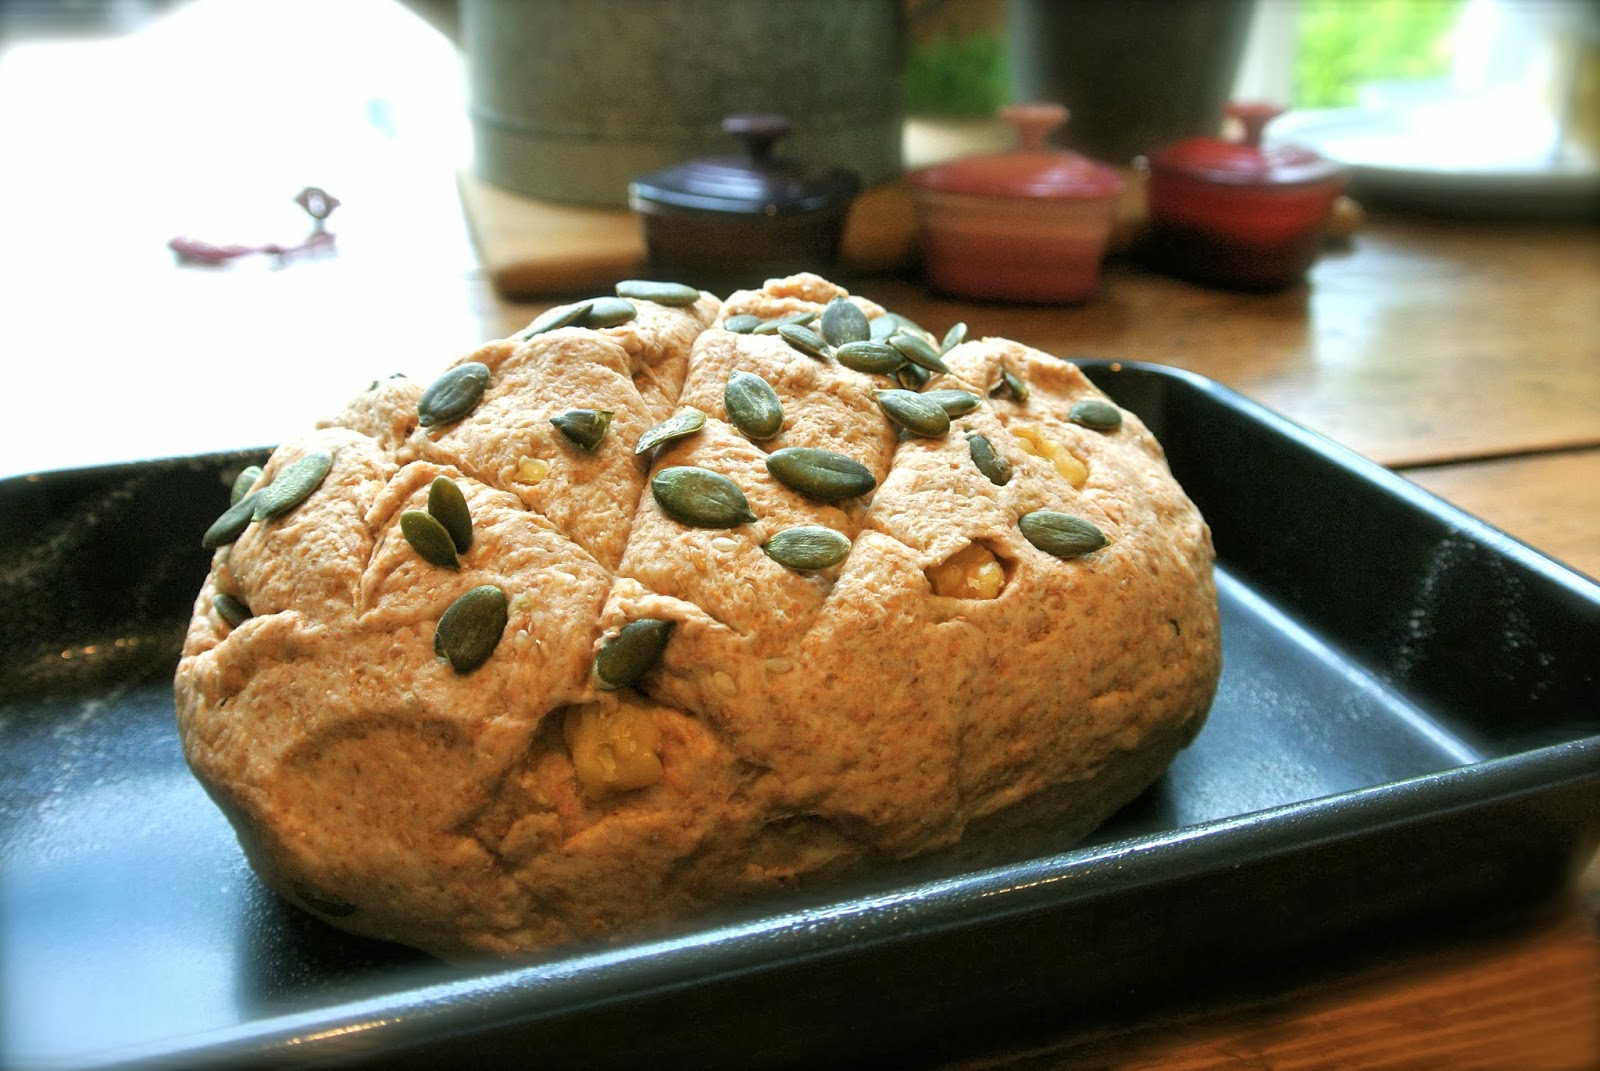
Lightly spray your baking tray with sunflower spray, and then shape your dough to your desired shape. You can score the top as I have done, and add additional seeds.
Cook in the oven for 15 minutes at the highest temperature, then for a further 30 minutes at 10 degrees cooler.
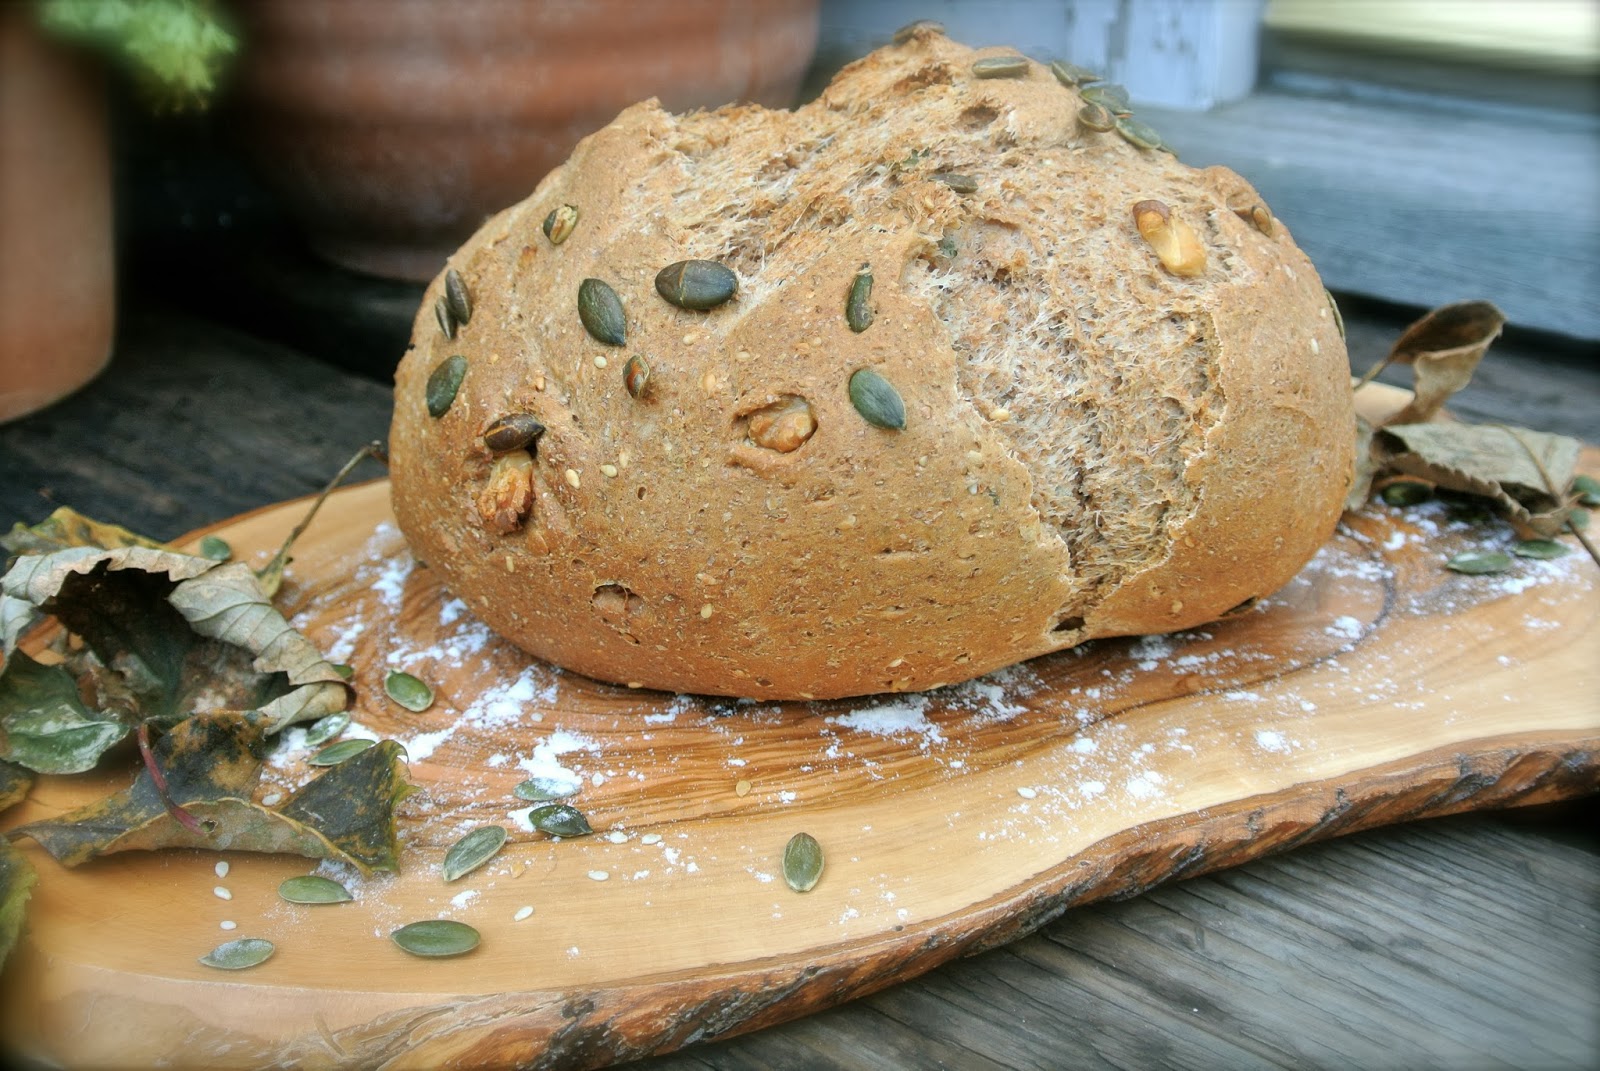
And your bread is done! Check it is cooked properly by tapping the base – it should sound hollow.
I know it’s seriously tempting, but give the loaf at least 20 minutes to cool down before you cut it, otherwise it could all just crumble.
In the unlikely event that the delicious loaf doesn’t get eaten within a matter of days, you can freeze it for up to a month. I enjoyed mine with a bowl of home made leek and potato soup, and then again as an afternoon snack drizzled with honey and a little butter.
The possibilities are endless, and it just tastes so much better knowing you made it yourself!
Enjoy!

P.S – Just had the last piece with some mustard-seed cheese from the Farmer’s Market – O.M.G – Heaven.

