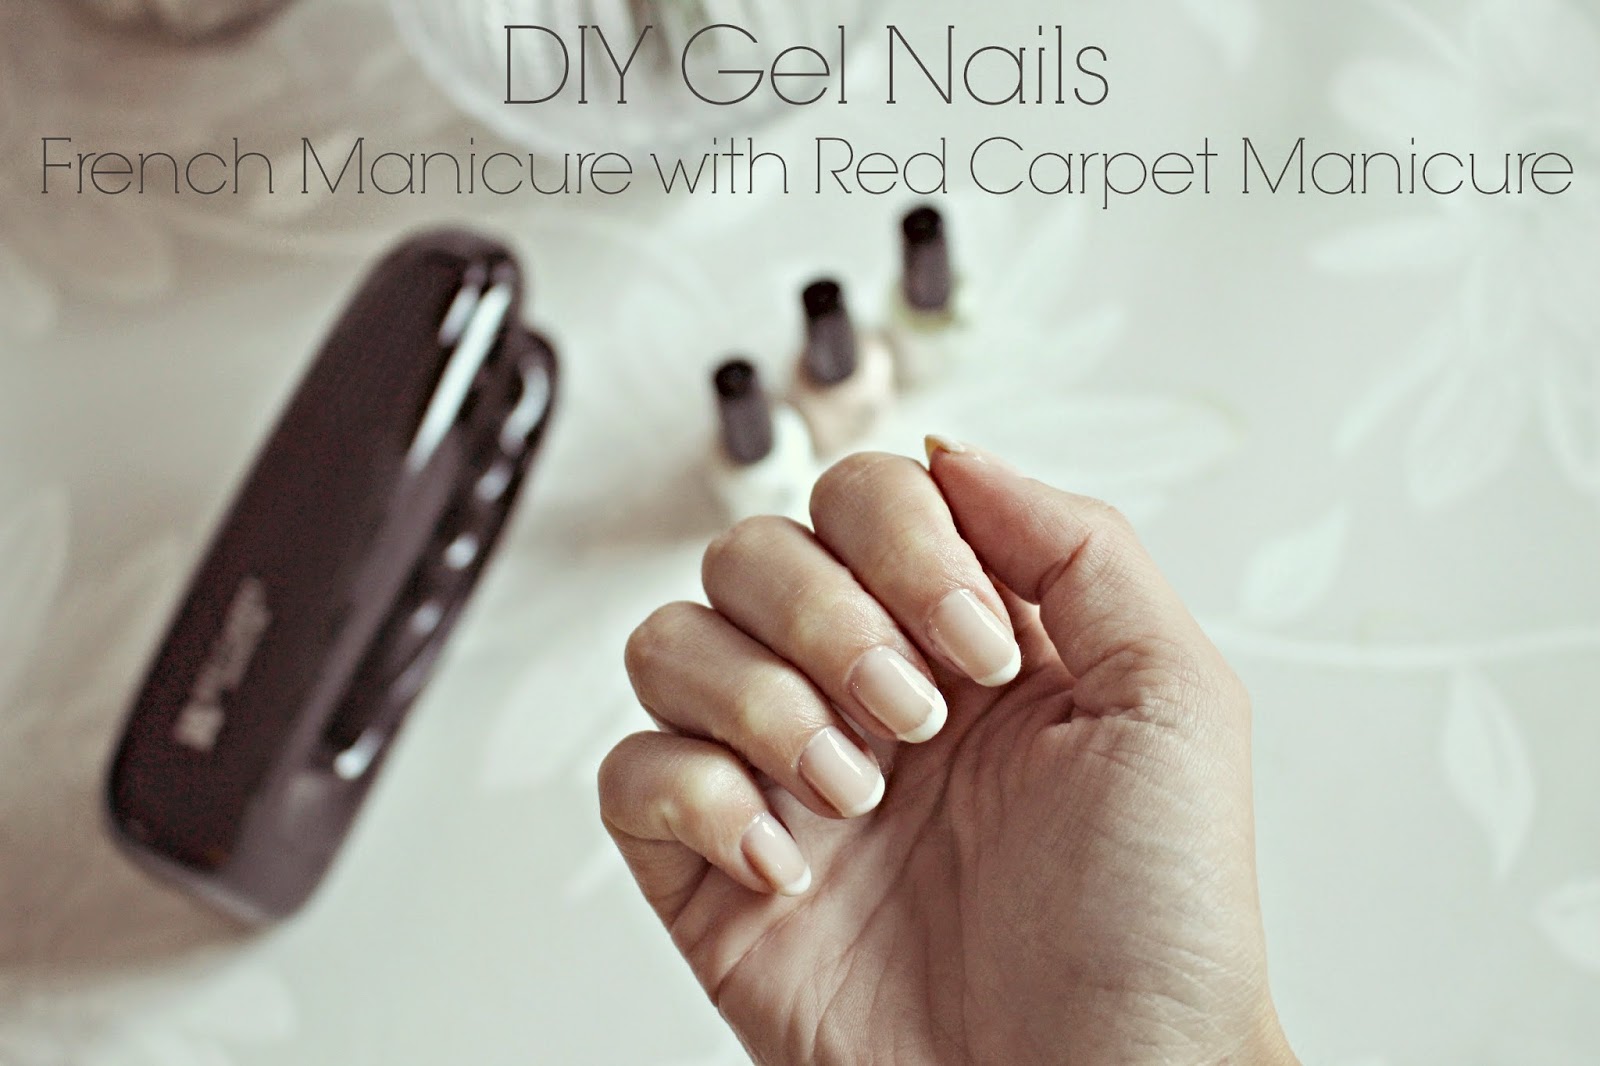
Yes there is something wonderfully indulgent about getting your nails done at a salon, but at £50 a go, it’s not something I can do regularly, yet I despise chipped nails or bare nails – so I set about to find a way of doing gel nails at home. I discovered Red Carpet Manicure – a brand which sells a portable UV light and the full kit where you can do it all yourself.
The benefits of a Gel Manicure are that they last far longer than a regular manicure (colour stays chip free for up to 3 weeks) and it’s less damaging to your nails than an acrylic manicure. Yes it takes a while to do, but when you consider the amount of time you spend removing and reapplying chipped polish, it saves you lots of time in the long run.
Here’s what you’ll need for a classic French Manicure:
1.) POLISH – You can get the french kit from Red Carpet Manicure () or whatever other colour you fancy (£12.95 here). You will need a base coat and a top coat for every kind of gel manicure that you do as well.
2.) UV NAIL LAMP – There are so many available, read reviews carefully and don’t be fooled into thinking that the most expensive ones are the best! Choose one that comes with replacement bulbs too. Red Carpet Manicure have everything you need to start off, AND the UV lamp in their starter kit .
3.) FILES – My RCM kit came with a curved file, but this isn’t necessary. If you know any one with a Sally’s (Salon Supplies) card, ask them to bulk buy you some nail files and buffing blocks, as they are cheap as chips there! If not, just buy packets of files from Boots or Superdrug. Again, they don’t need to be expensive.
4.) ORANGE STICK – A wooden or metal orange stick can be found online, I think I paid about £2 for mine from Amazon, although I had to wait for it to be delivered from Malaysia!
5.) COTTON WOOL – My manicurist recommended ‘lint free’ cotton wool pads, as these will not leave any fibres on your nails, but unfortunately I ran out so have had to use normal ones this time. I’m going to get some more lint free squares from eBay or Amazon though, they also seem to be cheaper than the ones from the high street.
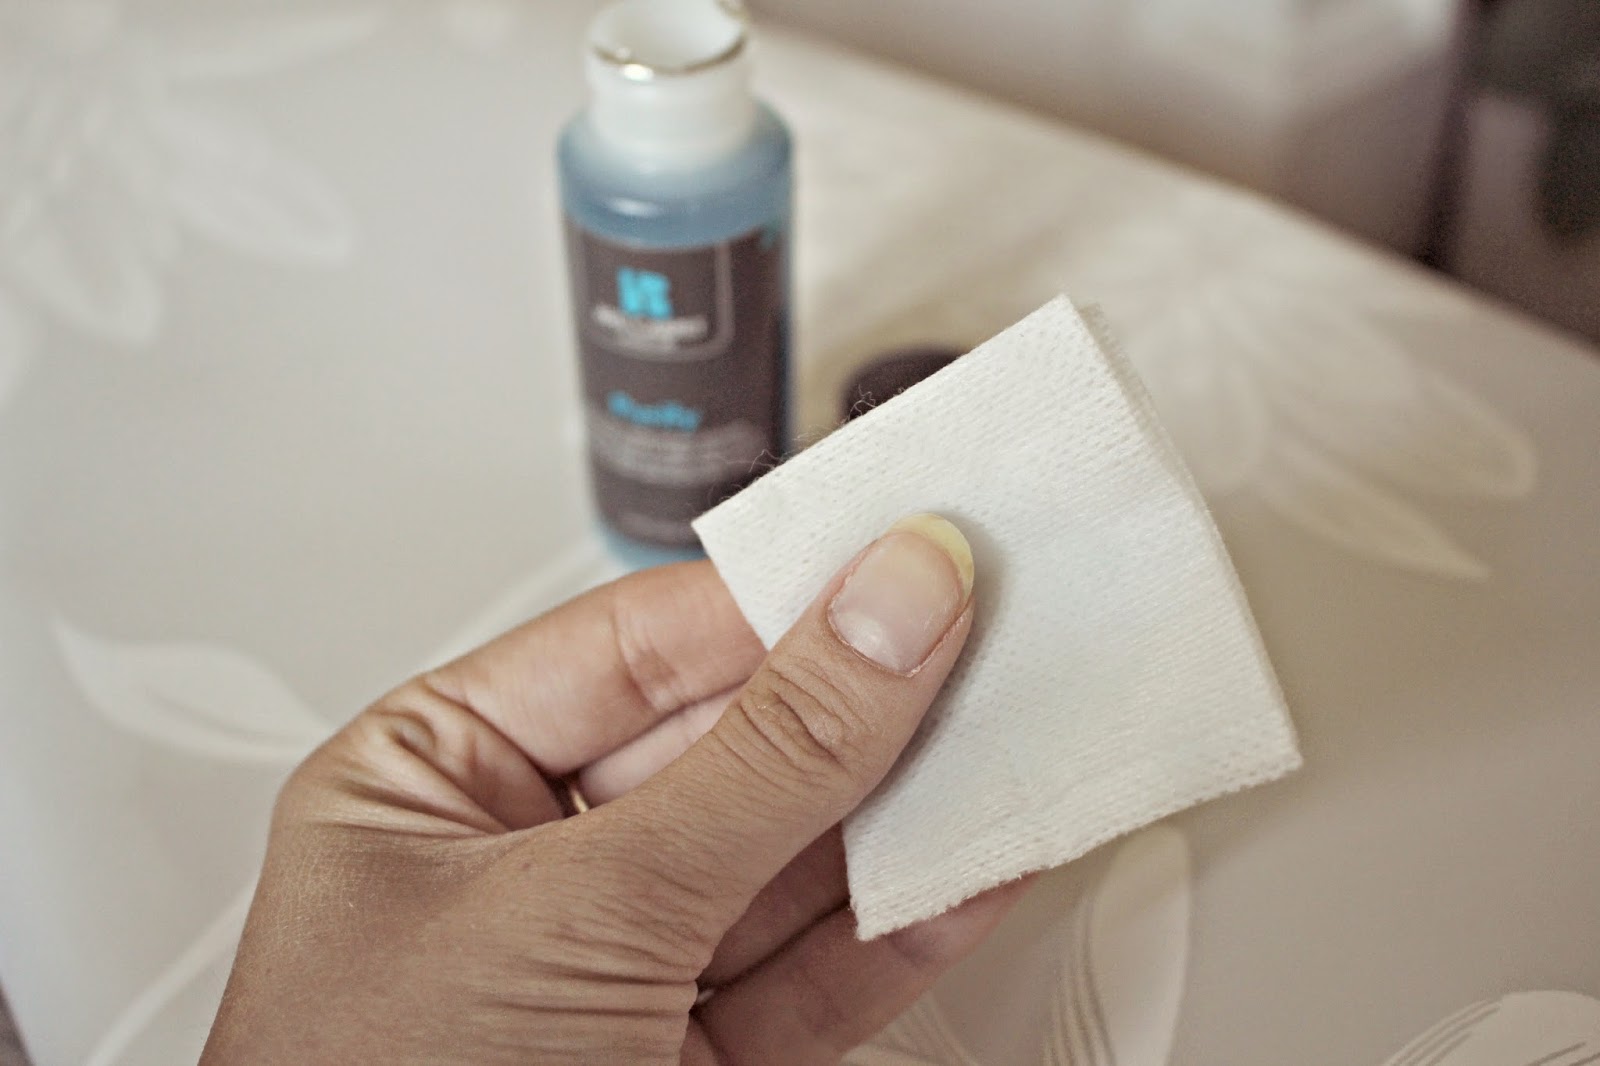
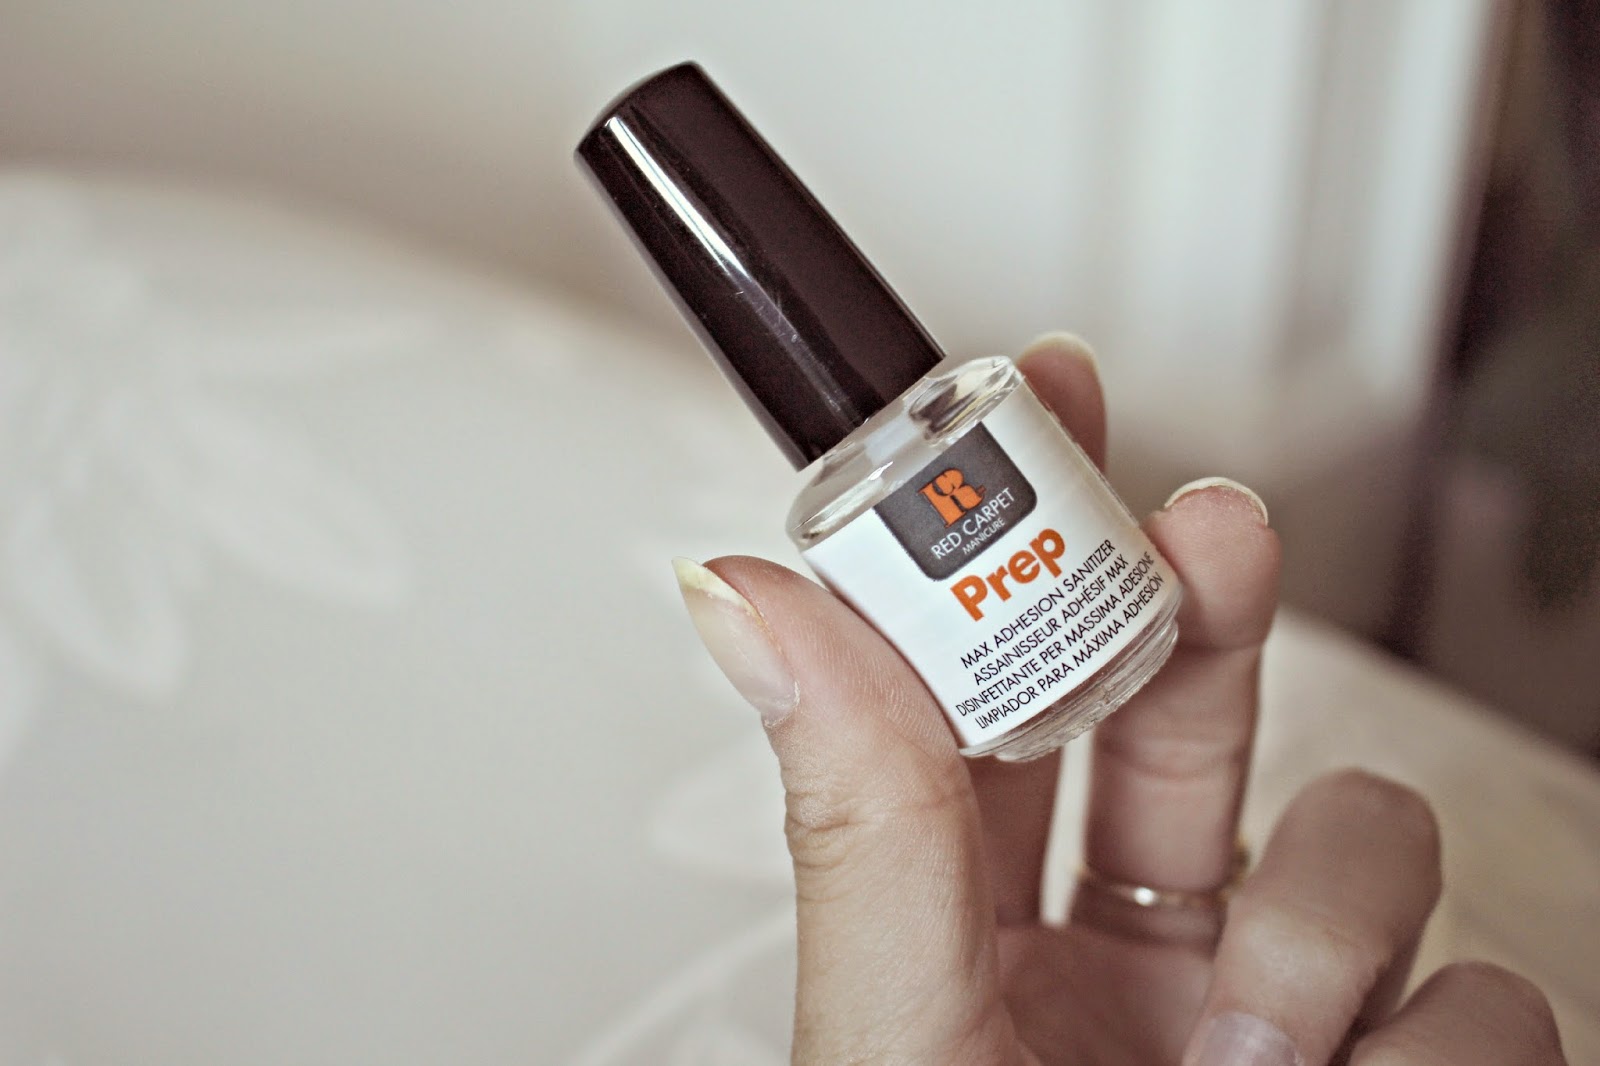
6.) PREP + WIPE & REMOVER – Usually the preparation solution and remover are sold together. You will need the prep solution to dehydrate the nails prior to painting, and only acetone remover will remove gel nails. Also included in the starter kit from RCM, or separately .
7.) CUTICLE OIL – Not a necessity but a nice treat for your nails after the manicure, and also great for rehydrating your cuticles.
My favourite style is the french manicure, so for this post i’ll be using the Red Carpet Manicure kit especially for this (they have loads of other colours too!). It contains a nude, a pink and a white, as well as some pretty stickers if you want nails to look extra fancy!
To begin, you need to prepare your nails. Use an orange stick to push back your cuticles as much as possible, and file your nails to your desired shape. Square nails are on trend right now, but I find them too impractical so have gone for the classic soft oval shape. Don’t buff the nail surface – too smooth and the gel polish will not be able to grip the nail. Then cleanse each nail using a cotton pad and the purify lotion.
Wipe nails with the prep solution first to dehydrate the nails – this will help the varnish to stick and last longer. This is included in the RCM Starter kit.
Next, apply a very thin base coat with the ‘Structure’ polish, ensuring that you go right to the cuticles and nail edges. It is best to wipe all excess polish off the brush – you don’t want any ‘gooping’ around the nail bed as this could cause the polish to peel.
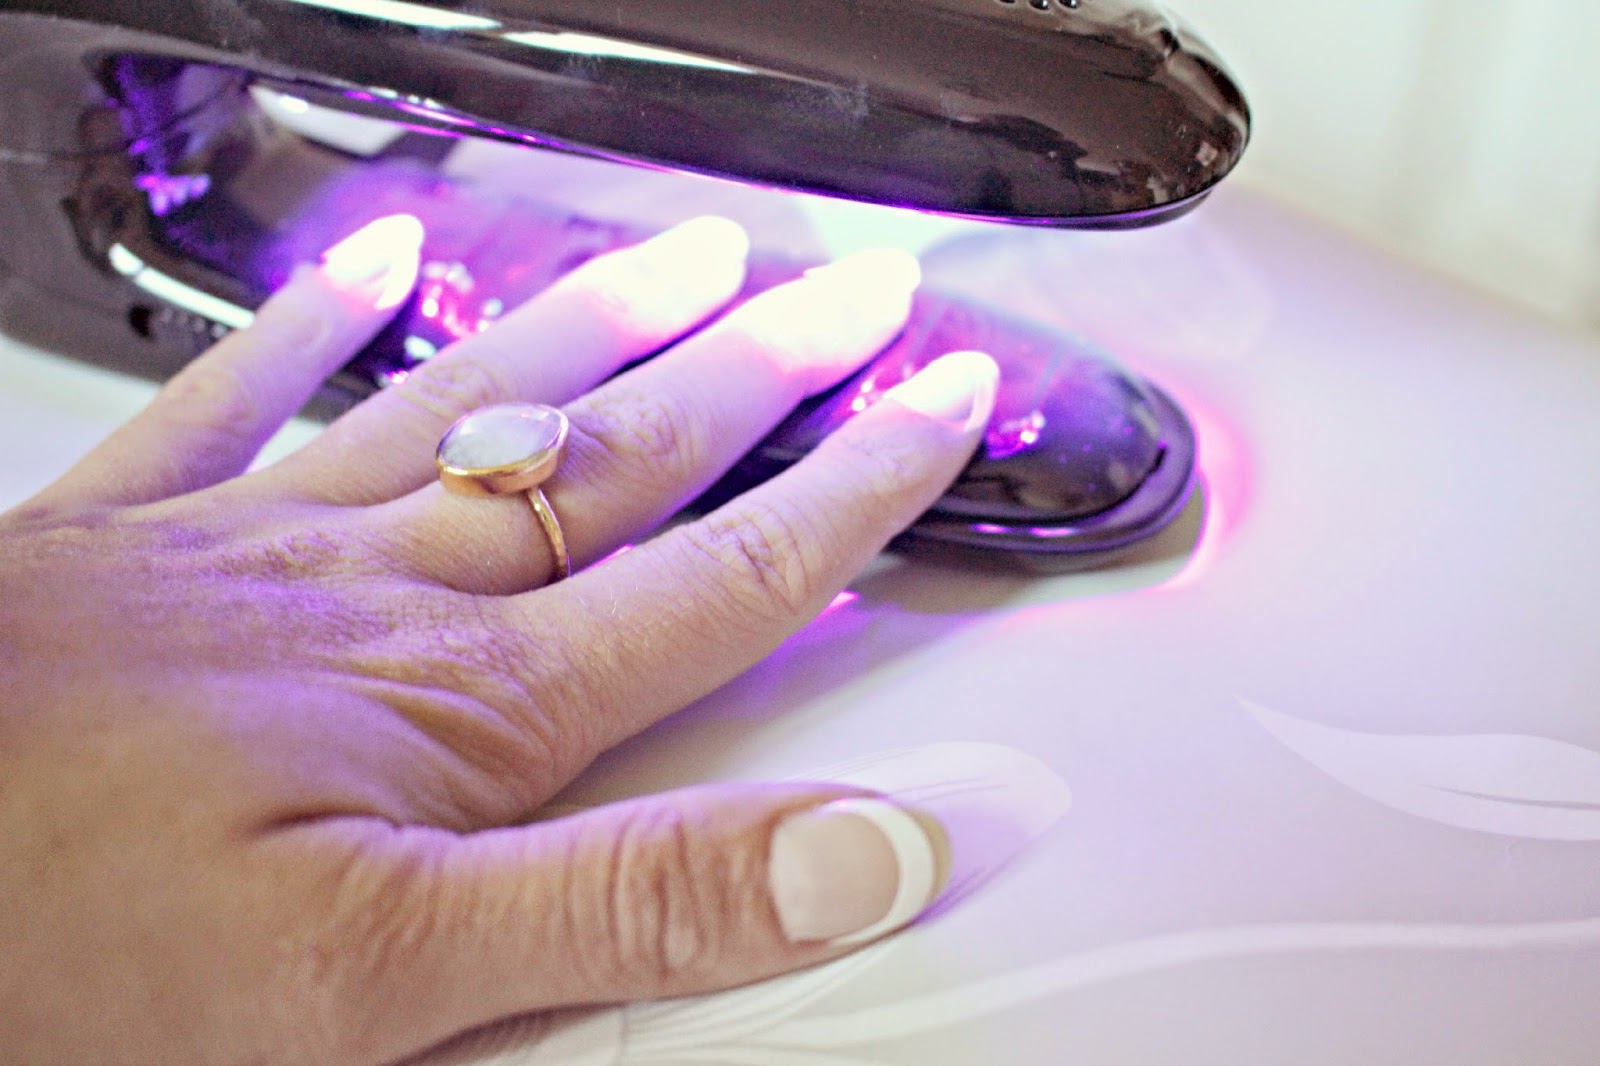
Place your hand into the UV Nail Lamp, and cure for 2 minutes on the 180W setting. Although the polish will be cured after this time, try not to touch the polish or get any dust/hair on the nails, as they are still sticky to touch until the top coat has cured. Use the light pink shade over the whole nail next.
Next, the most important step! Again, wipe all the excess polish off the brush, and carefully paint the white tips onto your nails. In the image above I used the sticker guides included in the French Manicure Kit. I think I prefer doing the tips by hand, but if you don’t have a steady hand then these are a god-send. You can also brush the edge of your nail to seal in the colour. If you are not happy with your nail tip, simply pour a little Prep + Wipe solution onto a cotton bud and wipe it off and start again. Cure for 2 minutes.
The next step depends on personal preference. The RCM French Manicure kits come with a very sheer pink polish, but I prefer a more opaque pink colour over the top. Apply one thin coat, cure, and then repeat. I can’t stress enough how thin the coats have to be – If you have had Shellac done professionally then you will know how thin the coats are that they apply – this makes the polish more long lasting and chip resistant.
Finally, apply the top coat and seal the edges like you did with the white tips. Cure for 2 minutes and the wipe the nails with Prep + Wipe. Finish by massaging cuticle oil into your cuticles, and you’re done!
How easy (and cheap) was that!
And that’s how easy it is to do your own Gel Nails. I did a video tutorial for how to do french manicures when I was VERY new to blogging, so if you want to see it in action (not using RCM) then check it out here.
Will you be trying this at home?
___________________ Your Red Carpet Manicure Shopping List ___________________


 JavaScript is currently disabled in this browser. Reactivate it to view this content.