My How-To Guide on Producing Health-Boosting Seed Sprouts at Home
If you’re looking for an easy way to increase the number of plants you eat, boost your vitamin intake and improve the balance of your microbiome, then perhaps you could try seed sprouts! Seed sprouts are simply vegetable seeds that have germinated and started to sprout. They are absolutely packed with nutrients as they contain everything the plant needs to grow – little powerhouses!! They are full of vitamins, minerals, amino acids and antioxidants, and these nutrients are easier to digest once the seed has sprouted as the tough seed coating has been opened. It has been reported that one cup of broccoli seed sprouts contains the same amount of vitamins as 50 cups of broccoli; and the best bit is, you don’t even need a garden to grow them!
Seed sprouts can be quite expensive to buy in store, but it’s incredibly easy and affordable to grow them from home, and with my simple method, you’ll have a constant supply. Be sure to buy organic seeds, and have fun experimenting with which are your favourite to grow, and your favourite flavours. I’ve started eating them with everything; on Avocado Toast, on soups, in smoothies – there are just so many options!


Choosing your seeds
So, you’d like to start growing seed sprouts, but which seeds should you go for? Different sprouts contain different nutrients, however some of the most nutritious seed sprouts are broccoli sprouts, radish sprouts, and pea sprouts. For my first batch, I tried broccoli sprouts and radish sprouts and I can confirm that they are utterly delicious; they are fresh, crisp and full of flavour. They really liven up a bowl of homemade tomato soup or an avocado toast.
Tim Spector, a leading scientist in the nutrition and microbiome field suggests that we all aim to eat at least 30 plants per week. To boost the number of plants I’m eating, I thought it would be great to try a seed sprout mix. I bought this organic sprouting mix which is comprised of mung bean, green lentil, brown lentil, chickpea, aduki bean and pea; meaning each time I sprinkle my sprouts on top of a soup, salad or avocado toast, I’m instantly adding 6 plants to my meal!

How to sprout your seeds
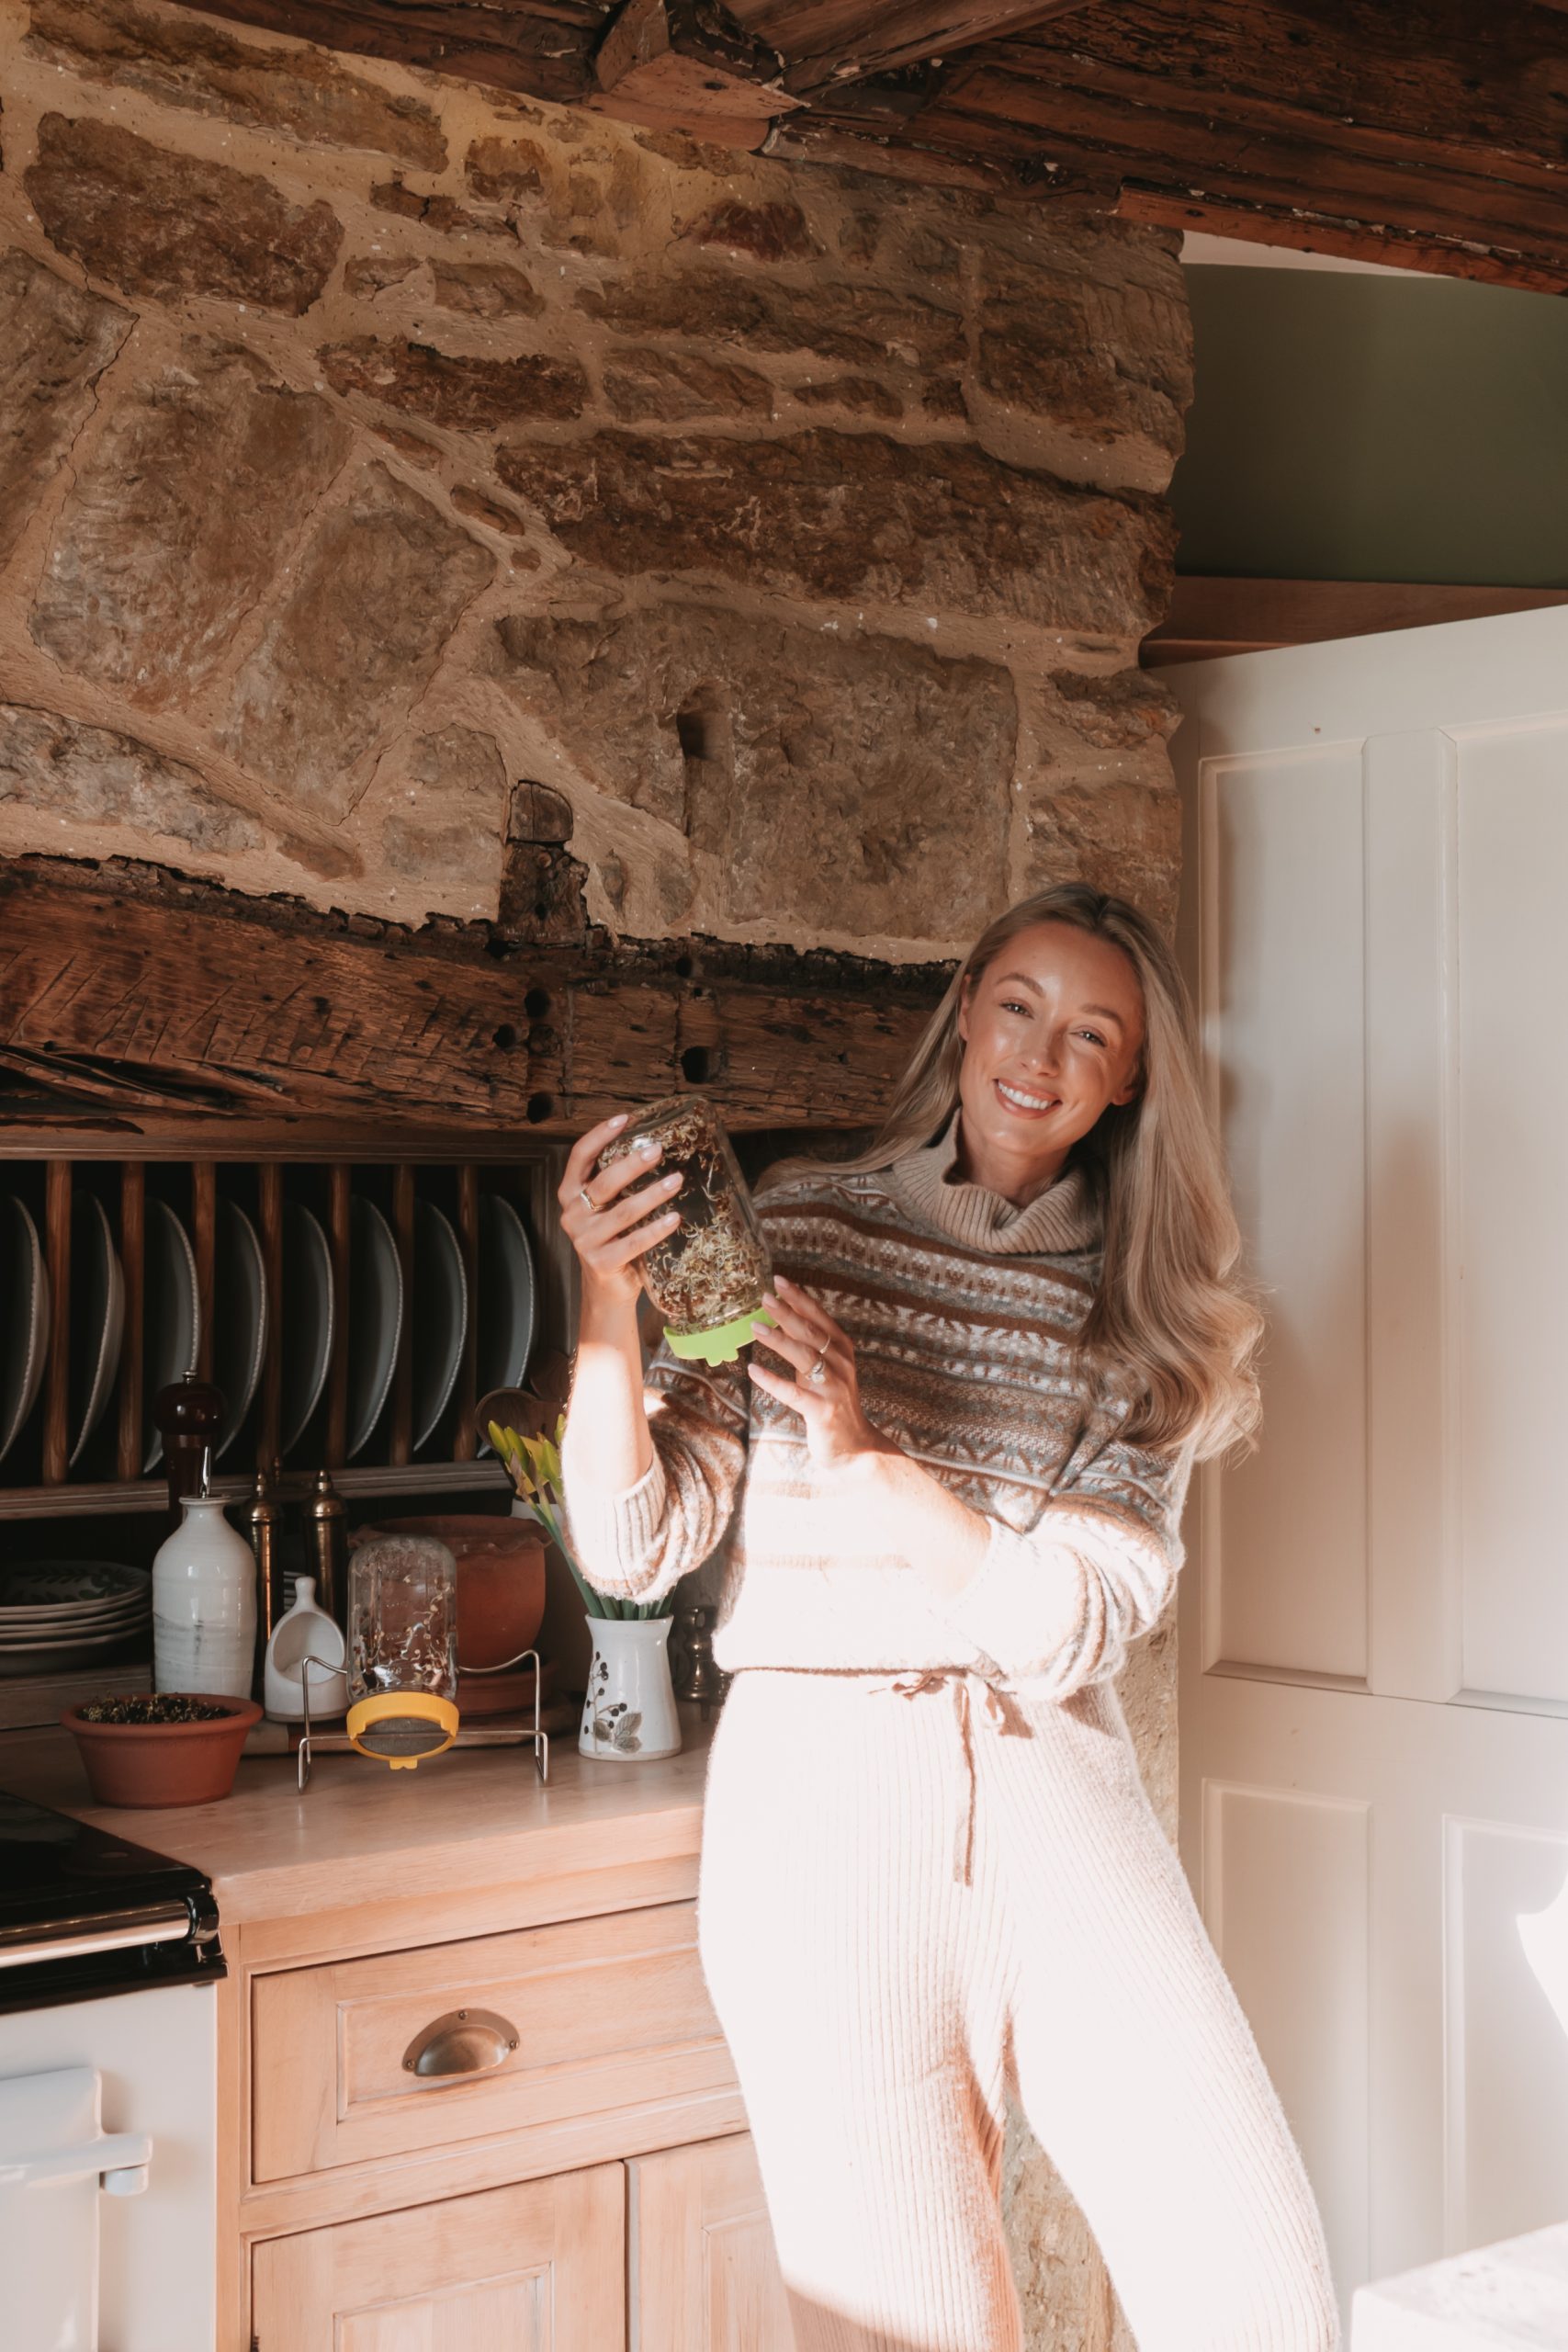
I use this seed sprouting kit I found on amazon to sprout my seeds. This kit is really simple to use, it allows you to produce two types of sprouts at once and your sprouts will be ready to eat in as little as three days. When you’re ready to get sprouting, simply place one or two tablespoons of seeds in each jar, fill the jars with water until they are at least half full, give the seeds a stir and then leave your seeds to soak with the jars upright for 8-12 hours.
Once your seeds have been soaked, it’s time to drain the water. Be sure to keep the lids on the jars, then tip out the water leaving the sprouts in the jars. Rinse the seeds several times by refilling and draining the jars, keeping the lids on the whole time. Next, you want to place your jars upside down in the racks to allow excess water to drain out. Repeat the rinsing and draining step every 12 hours until your sprouts are ready to harvest, which tends to be around 3-5 days but varies depending on the type of seed. When harvesting your sprouts, simply rinse and drain them one last time, then scoop out as many as you need from the jar.
The kit also comes with two blackout sleeves, as some sprouts such as bean sprouts grow longer and sweeter in the dark whilst other sprouts including most leafy green sprouts grow better with daylight.

Will you be giving this a try? I’d love to hear how you get on, and which are your favourites! If you try growing your own sprouts, be sure to tag me in photos over on Instagram so that I can see and share them!
Josie xoxo

